Raspberry Turk
The Raspberry Turk is a robot that can play chess—it's entirely open source, based on Raspberry Pi, and inspired by the 18th century chess playing machine, the Mechanical Turk.
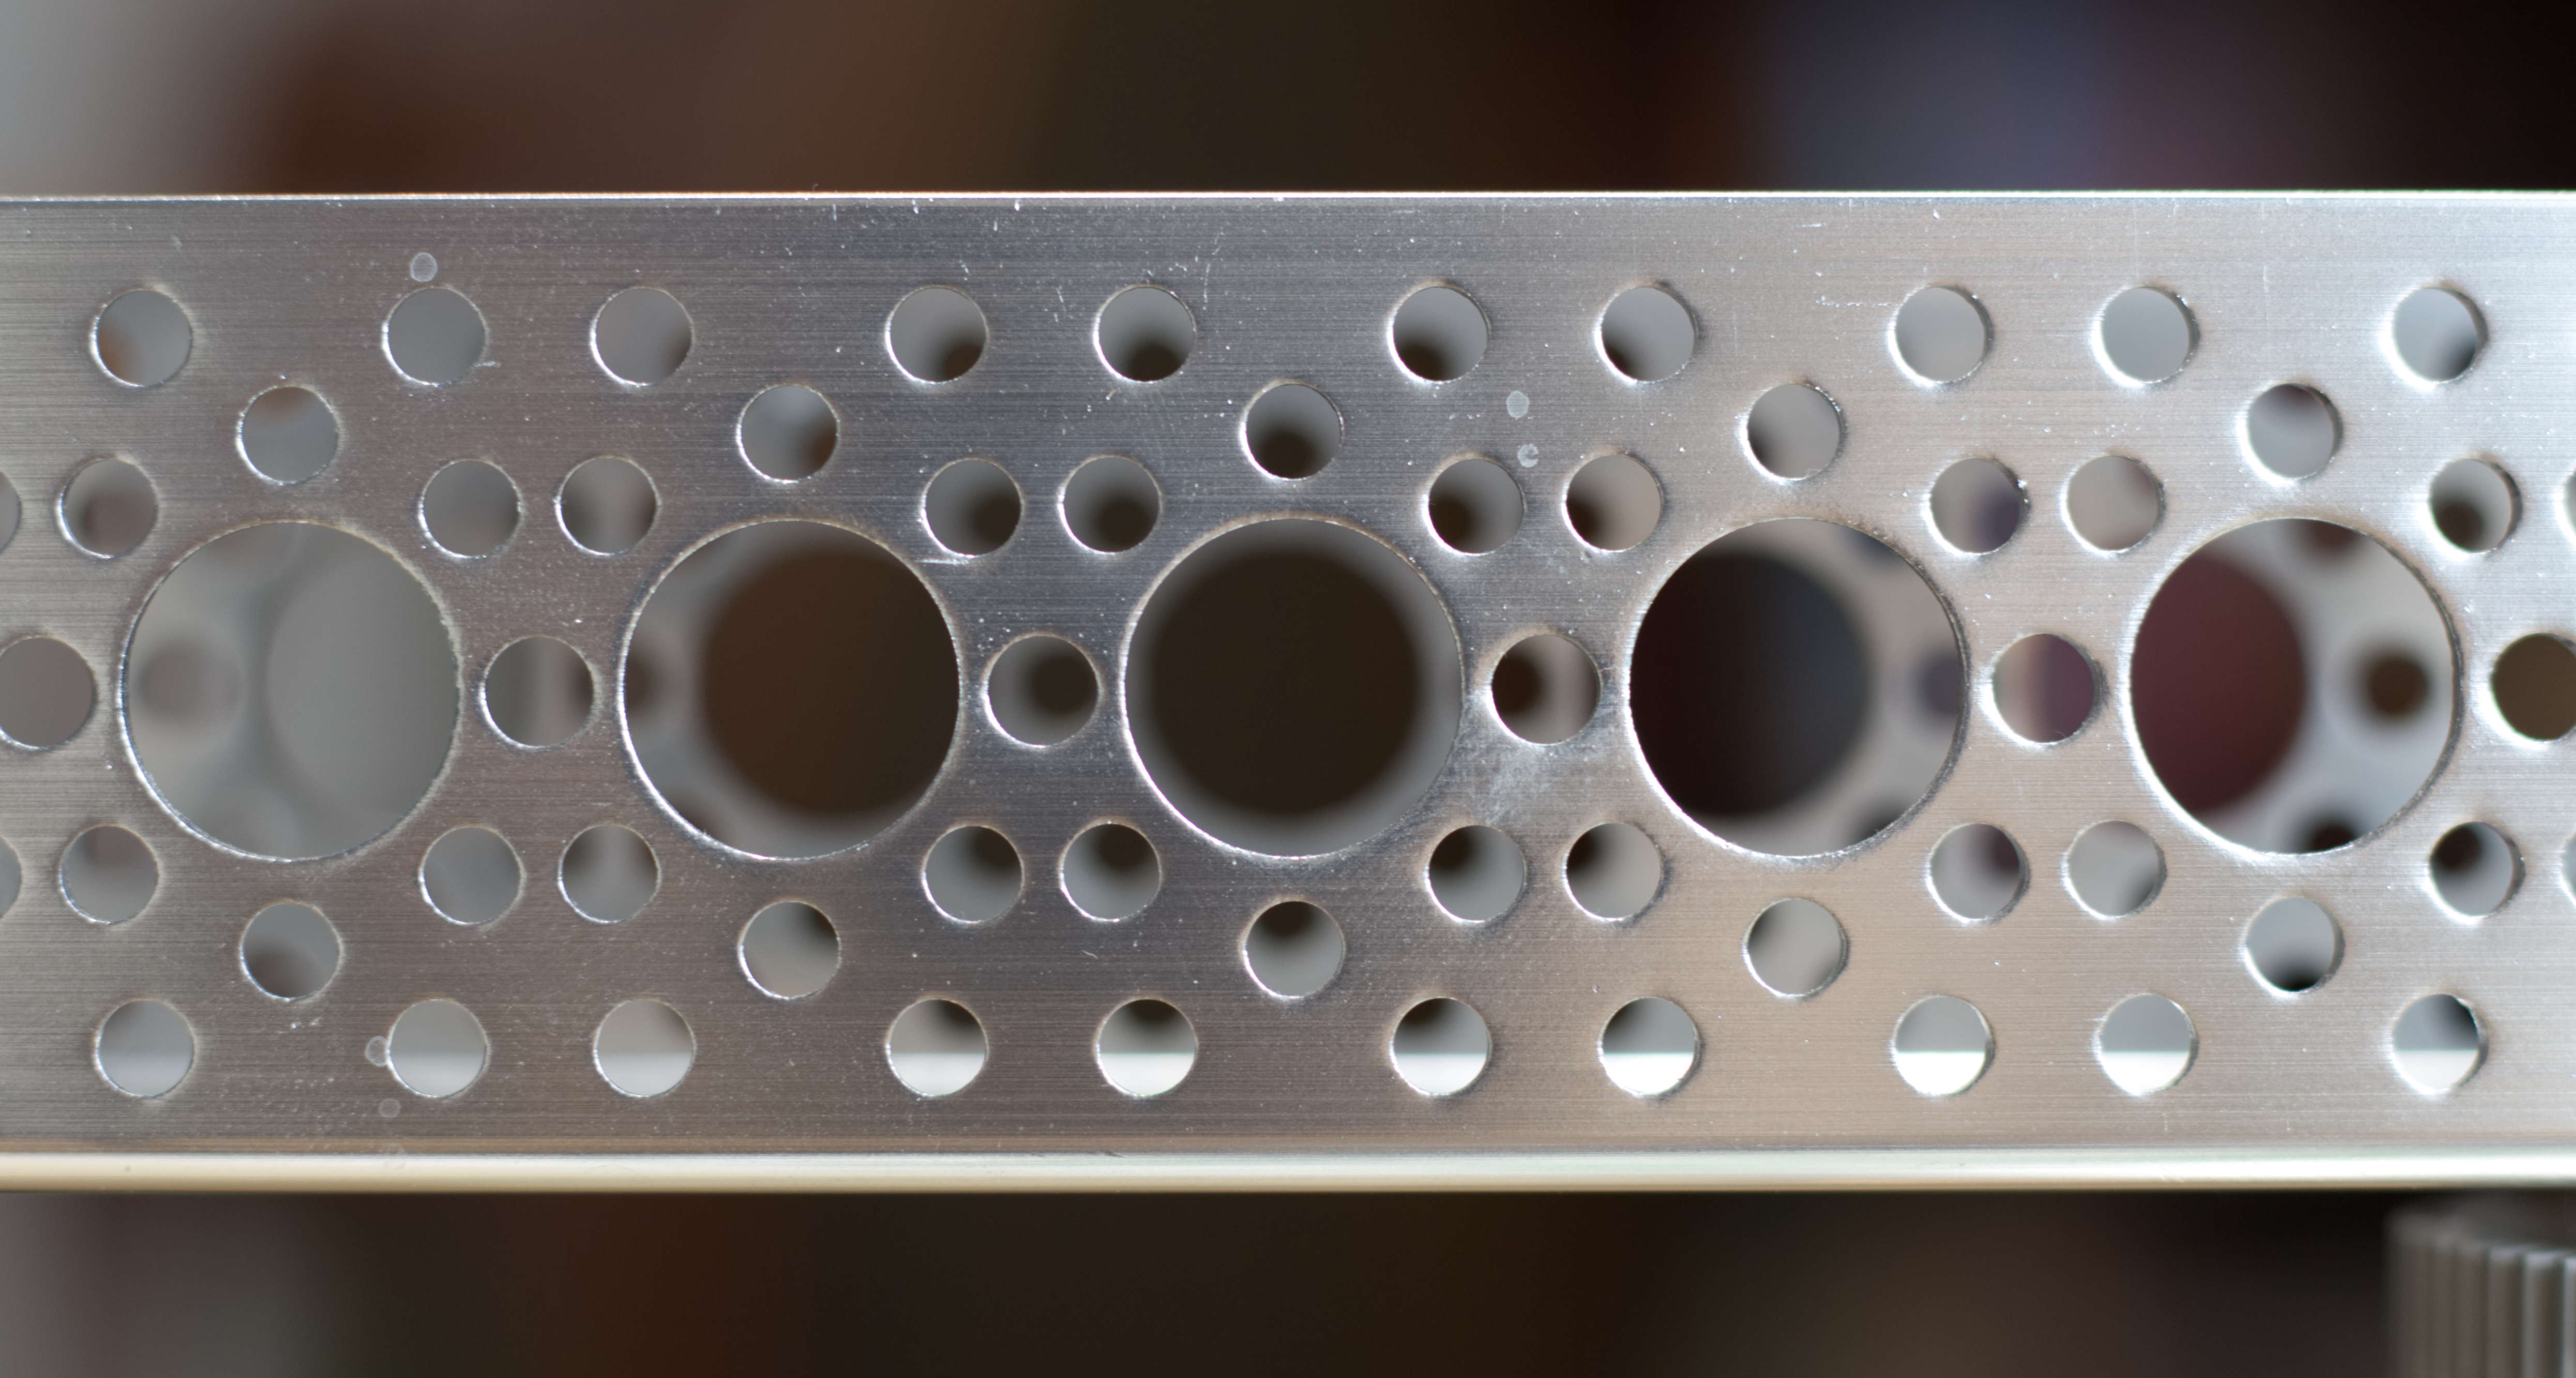
Actobotics are structural and motion components for robotics projects. The components are made of high grade aluminum or stainless steel and all use standardized sizes, and connect with ease, a lot like legos. I bought all of my Actobotic parts for the Raspberry Turk through ServoCity, who were incredibly helpful throughout the process when I had questions.
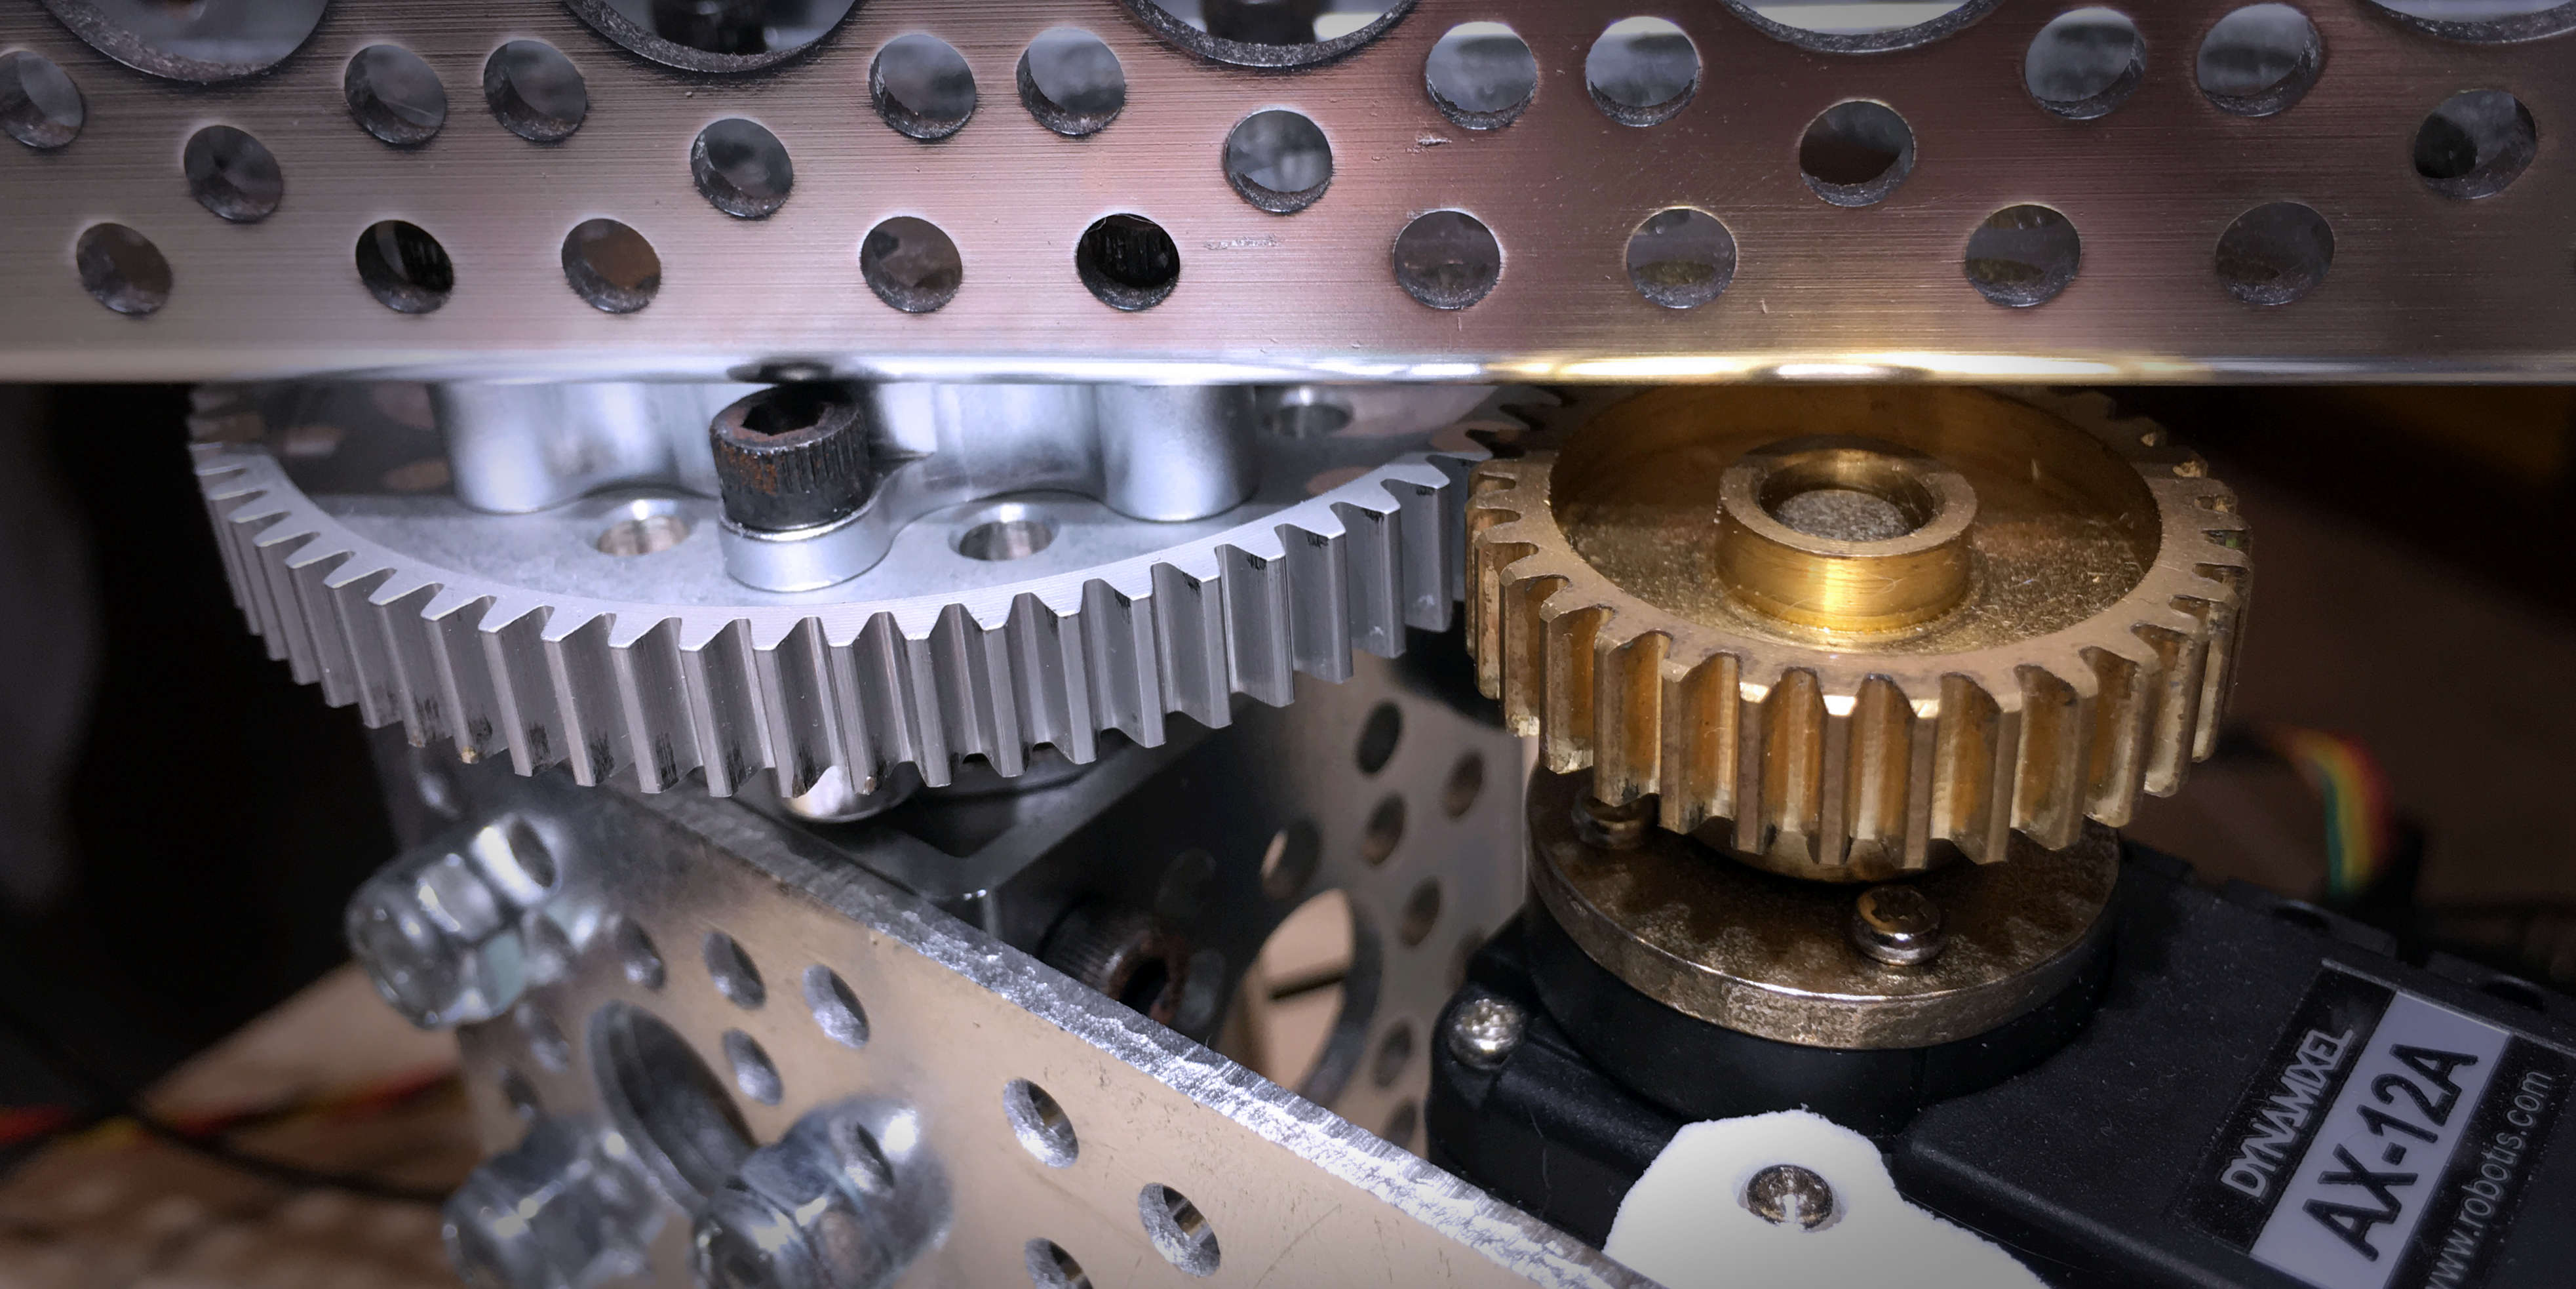
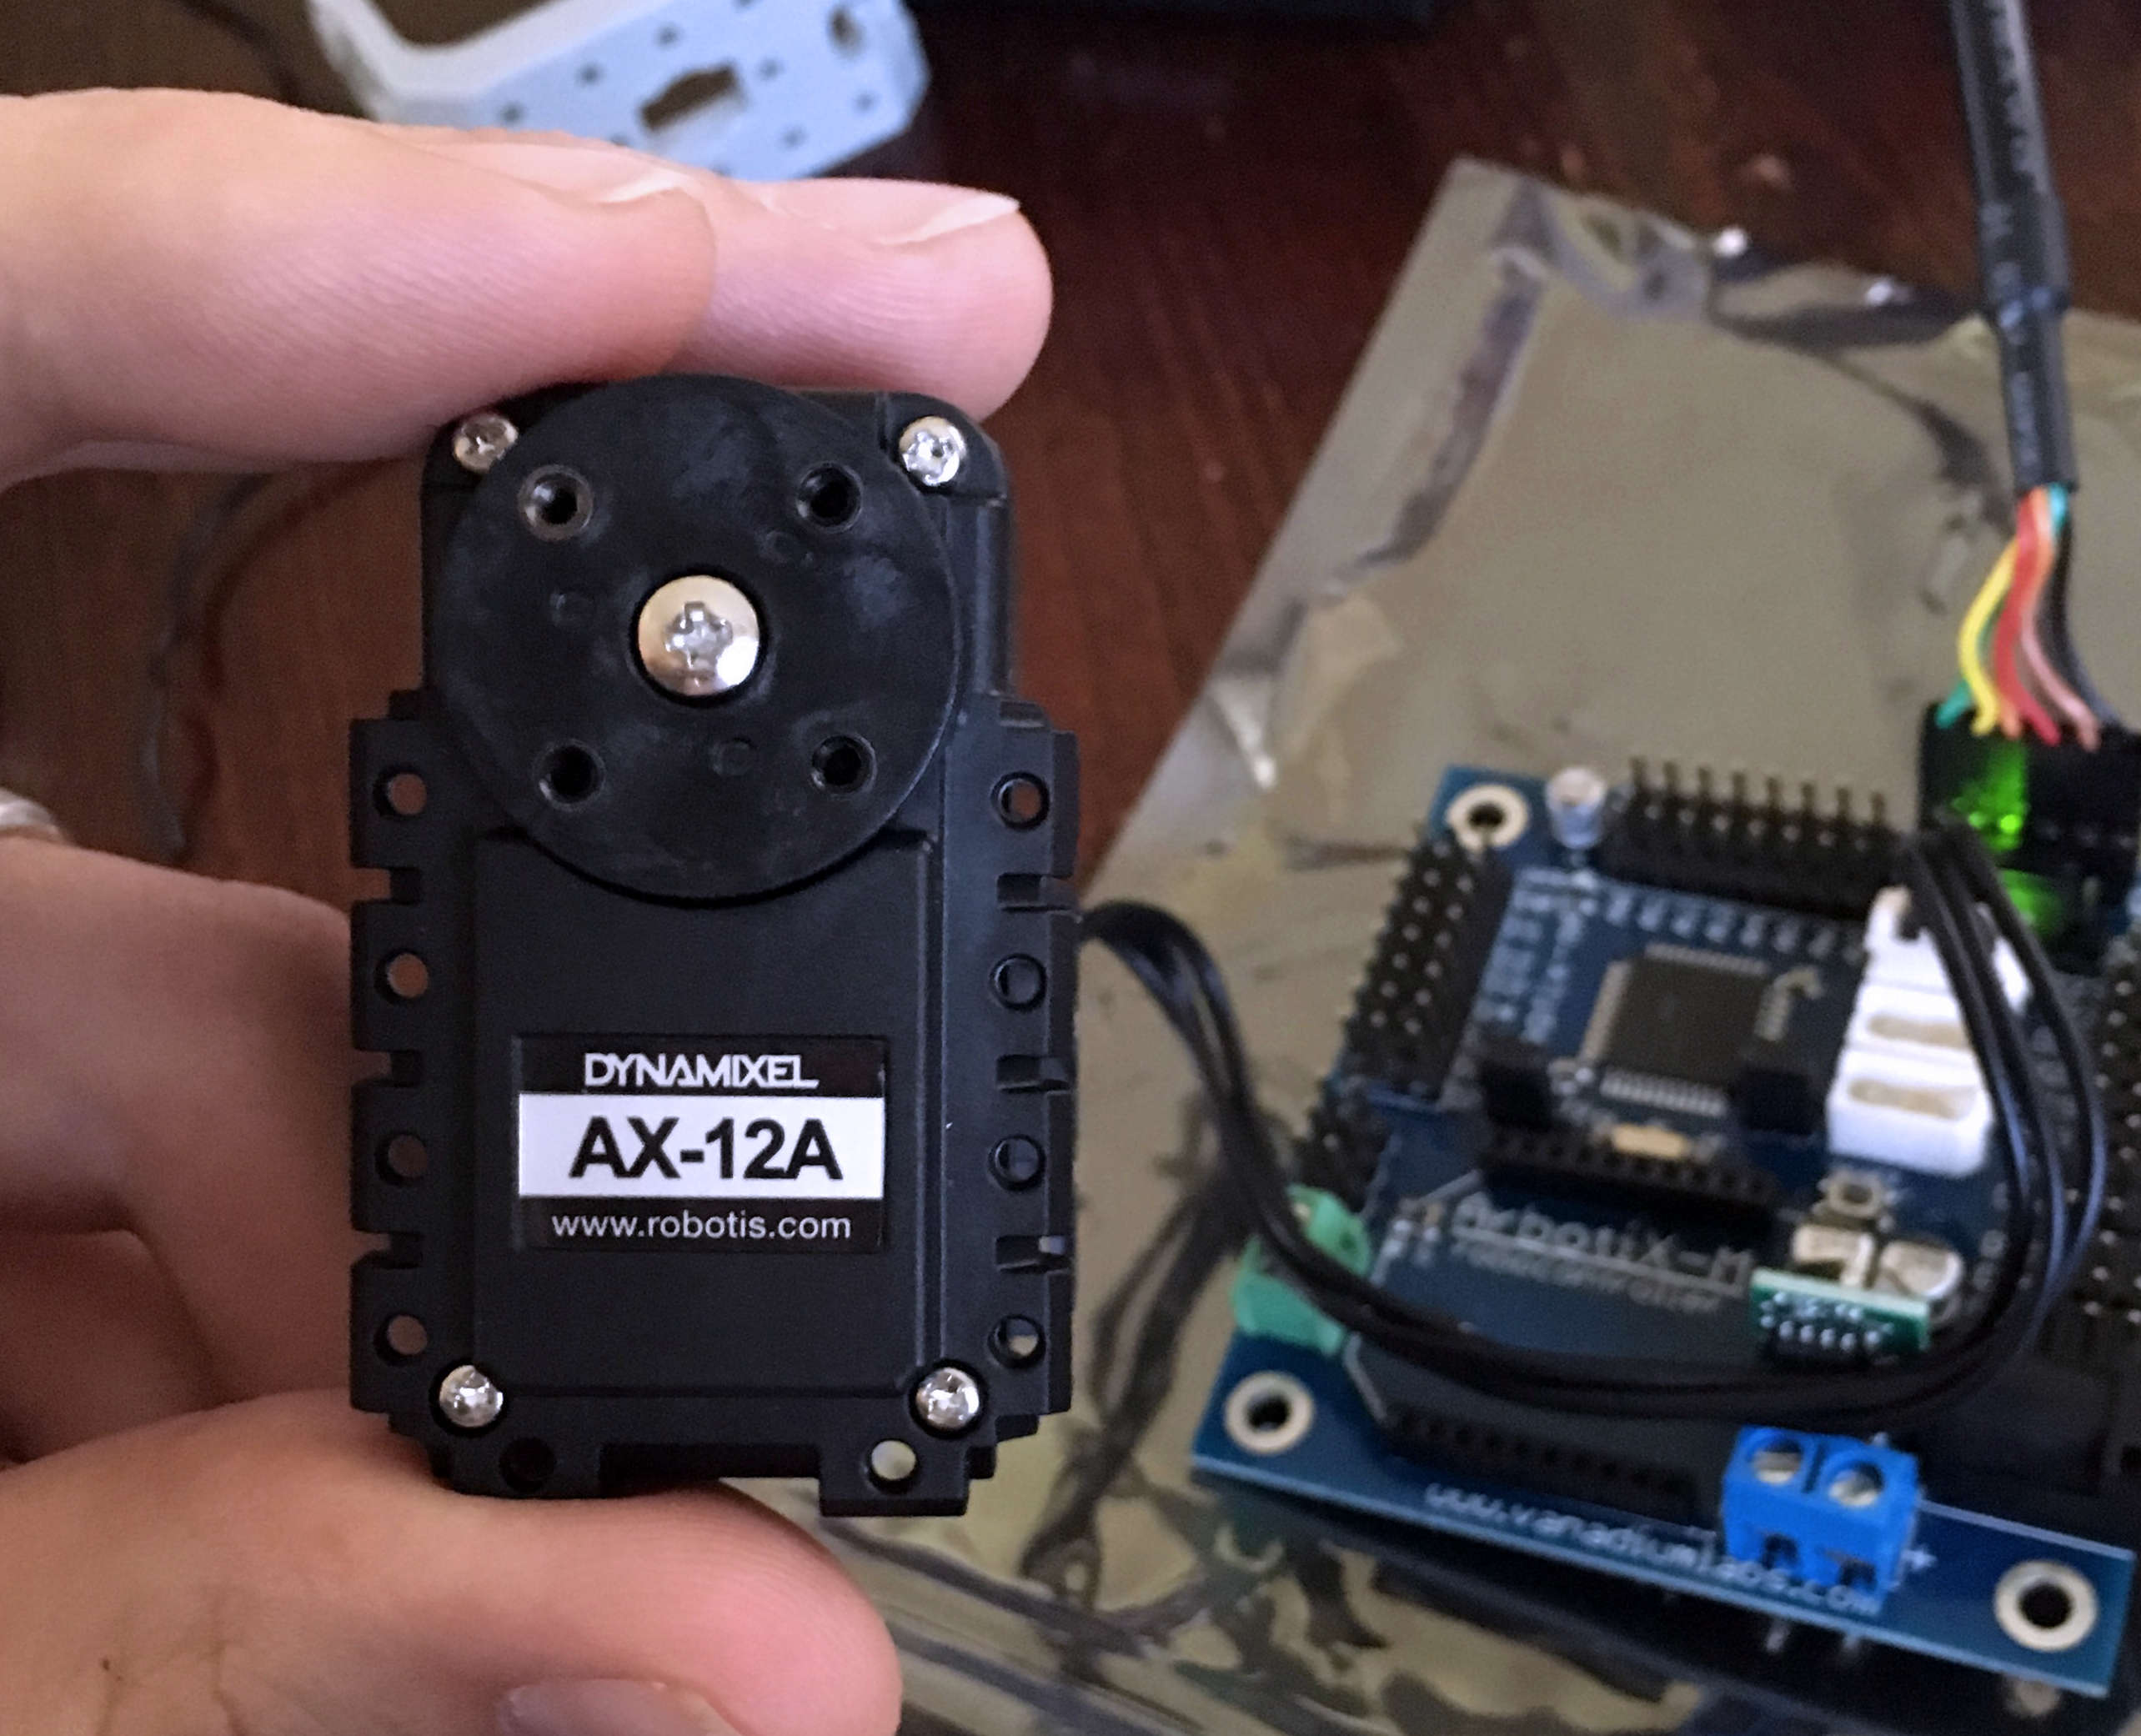
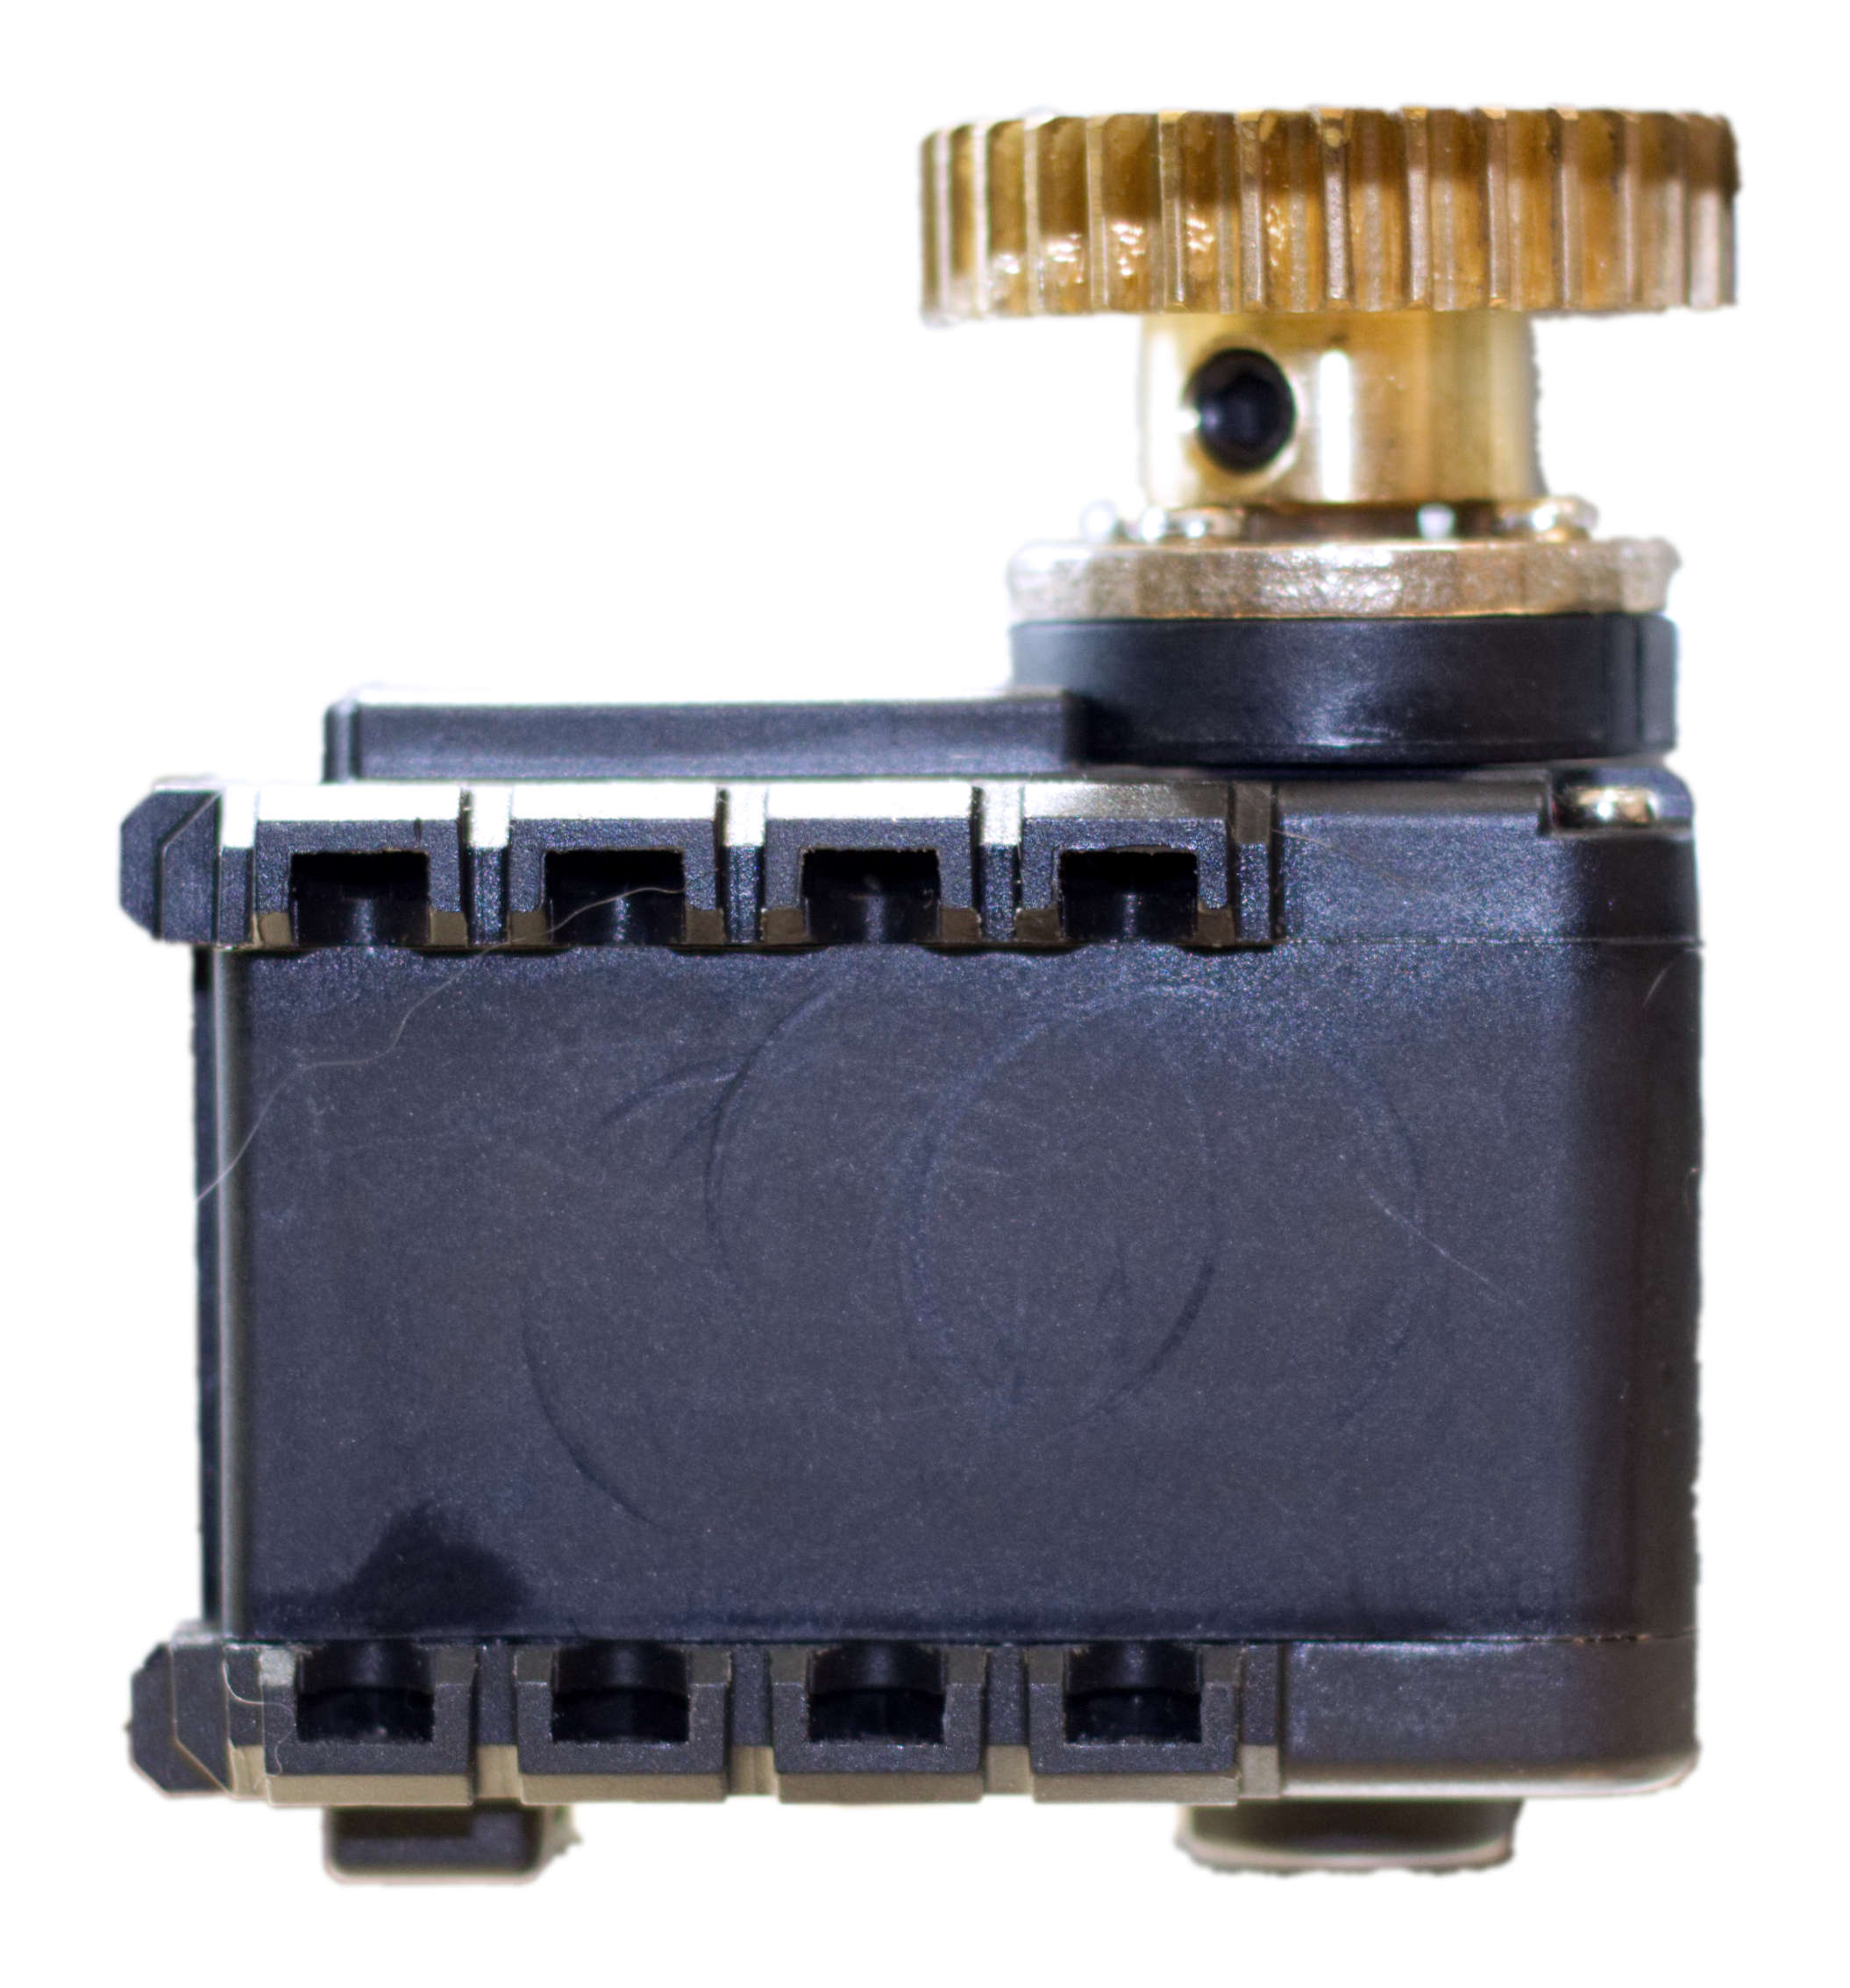
Actobotics work extremely well when used with other Actobotics components, but not always with other products. I ran into this problem when trying to use Dynamixel AX-12A servos with the arm made out of Actobotics. There were two problems:
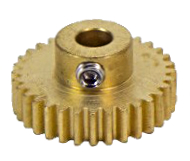
1) Connecting a pinion gear to the servo
2) Fixing the servo to the arm so the pinion gear aligns with the arm gear
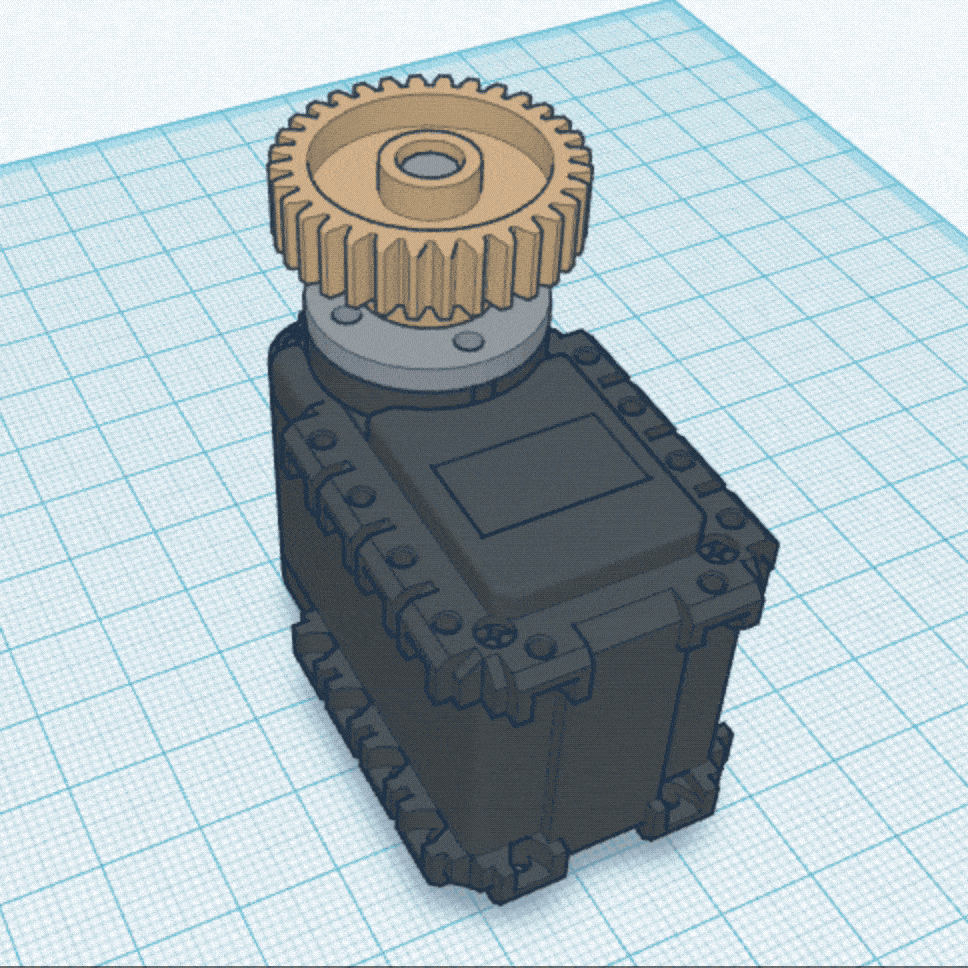
I was able to solve both of these problems by 3D printing parts to fit the job.
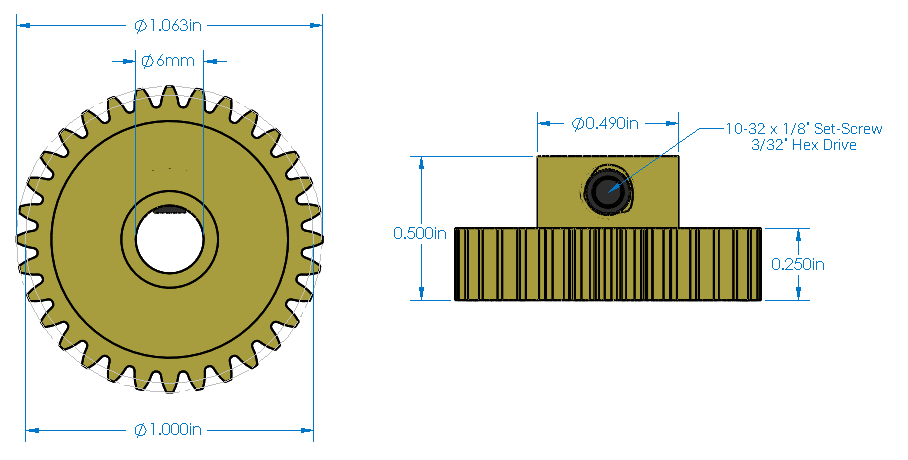
Using Tinkercad, an easy browser-based 3D design and modeling tool, I was able to design a small plate with a cylinder popping out of it which fit the job.
The design is publicly available here, and can be adapted for your own purposes. I first printed several copies using ABS material at a local makers workshop. This was great for prototyping and gave me a final design. The ABS material fit well but cracked easily under the stress caused by torsion when moving the entire arm. I took the final design and uploaded it to Shapeways and printed it in stainless steel. You can order it here, or modify/print it however you like using the .STL.
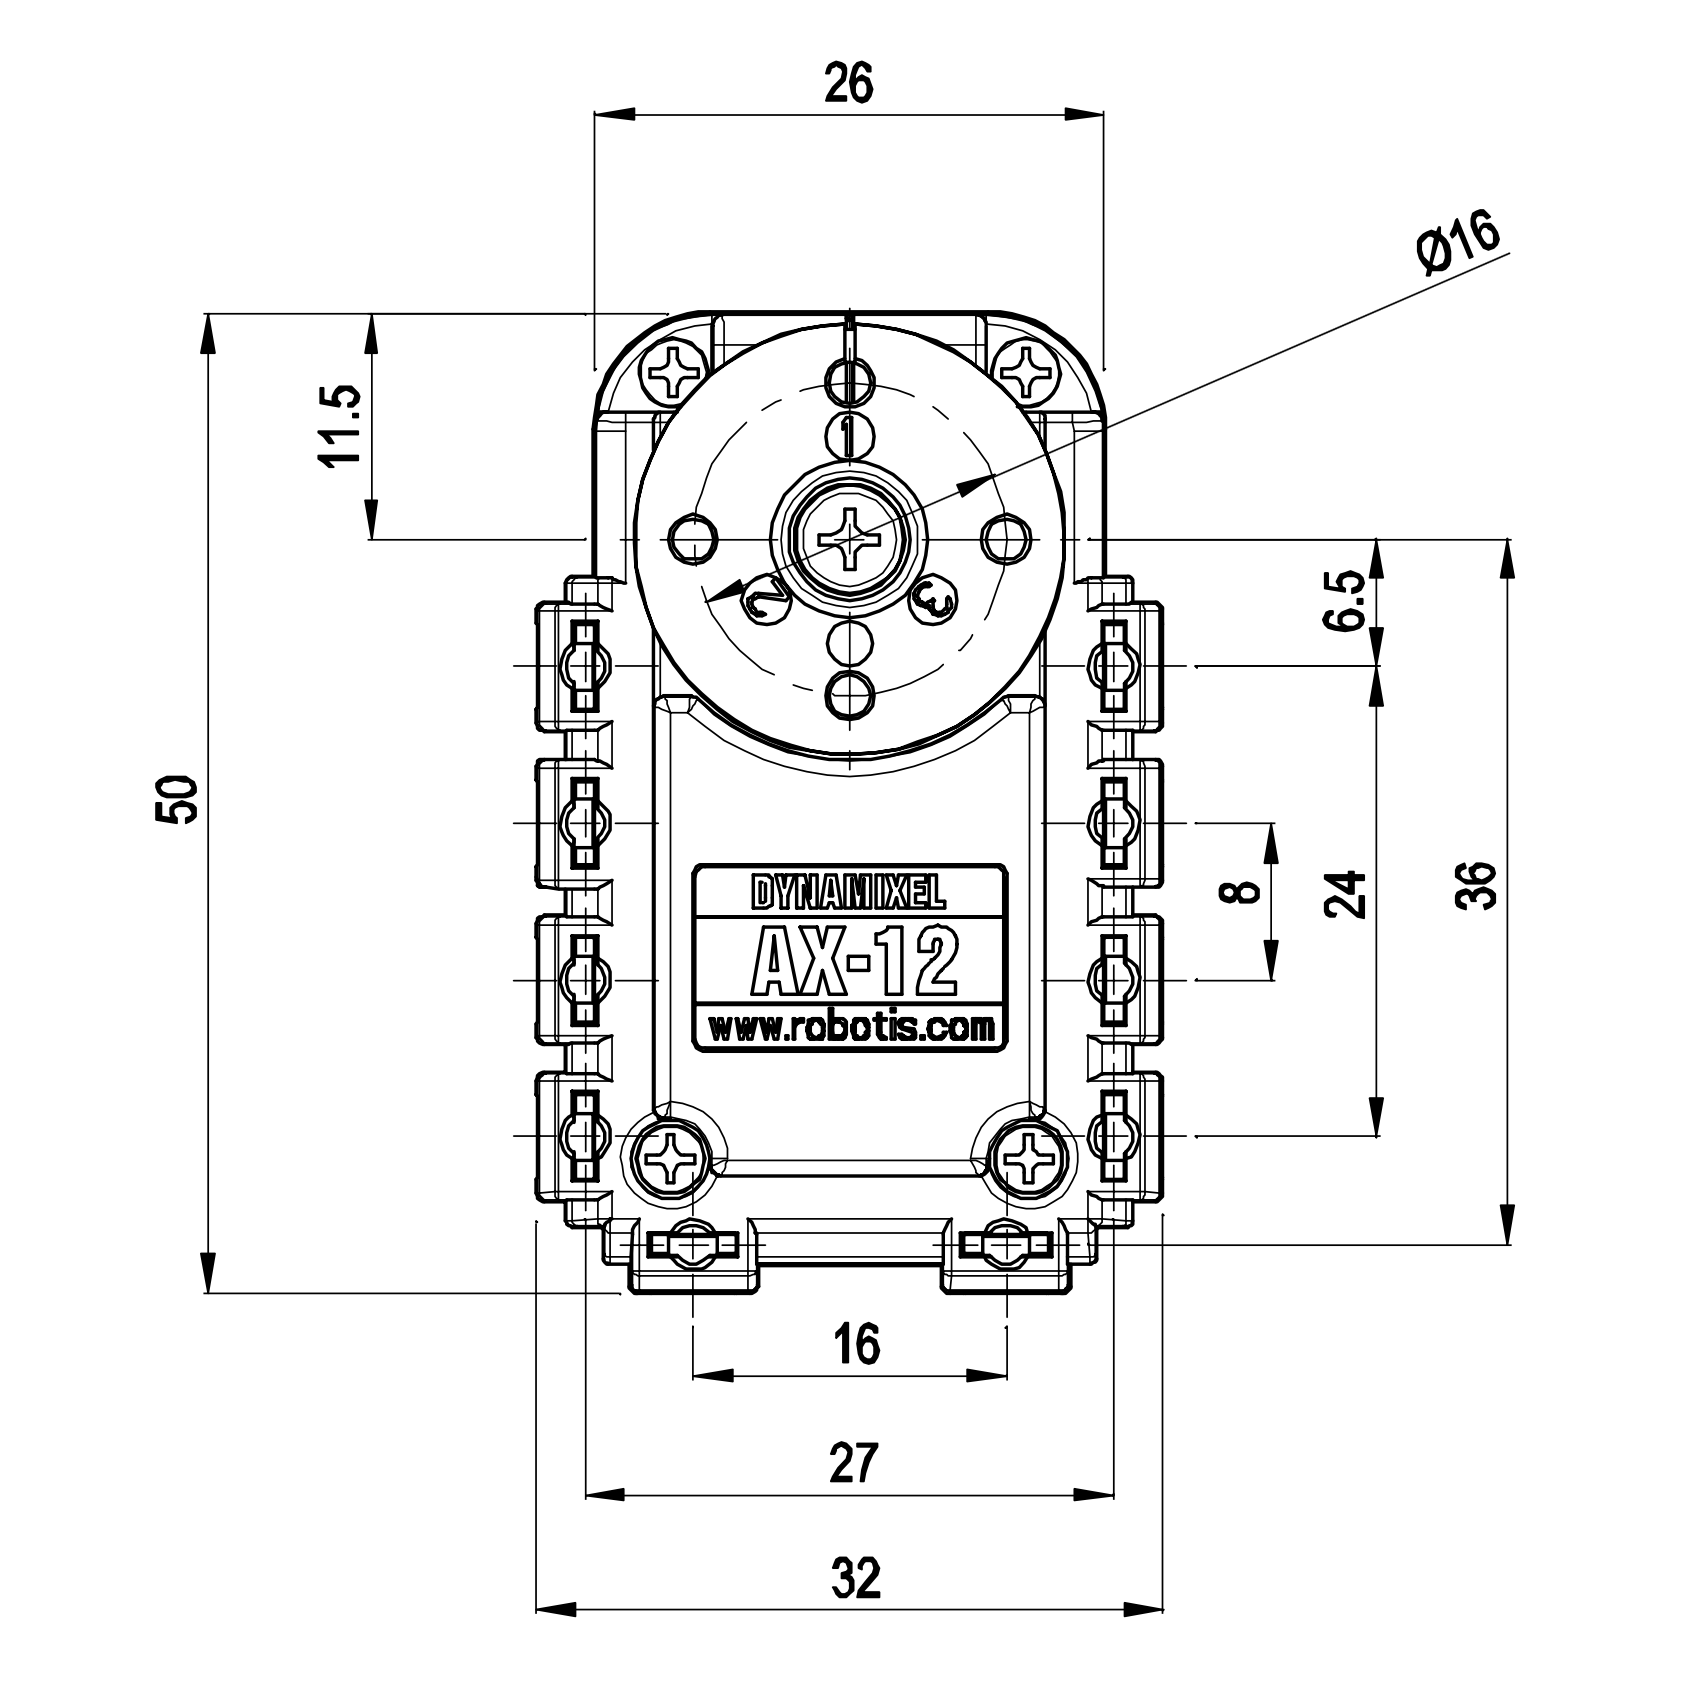
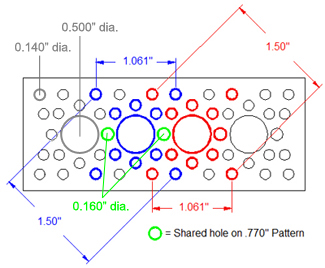
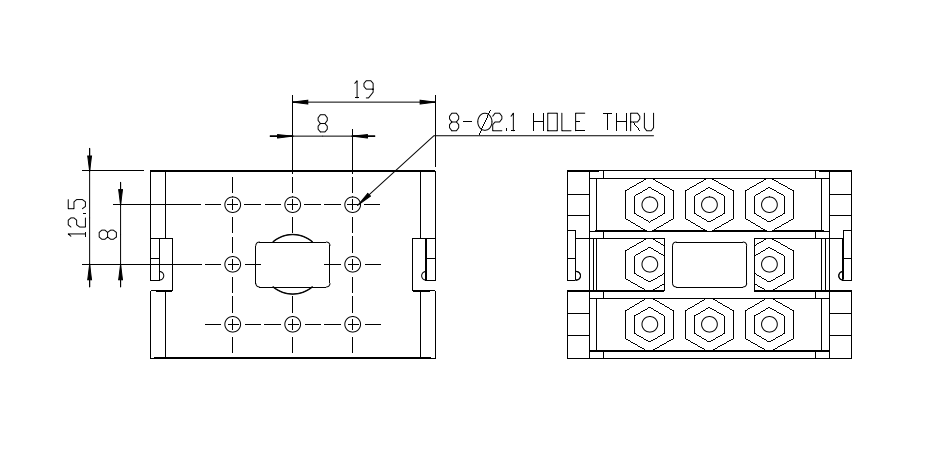
The arm of the robot is made out of aluminum channel. The sides of the channel have holes patterned in a way that makes mounting other Actobotic parts very easy. However the side plate that comes with the AX-12A has holes of a different size and spacing.
This created a problem–there was no way to securely attach the servos to the arm using any standard parts. To solve this, for one of the servos I tried forcefully screwing small screws through the holes in the aluminum channel and into the hard engineering plastic of the Dynamixel side plate. This worked well for the servo at the elbow.
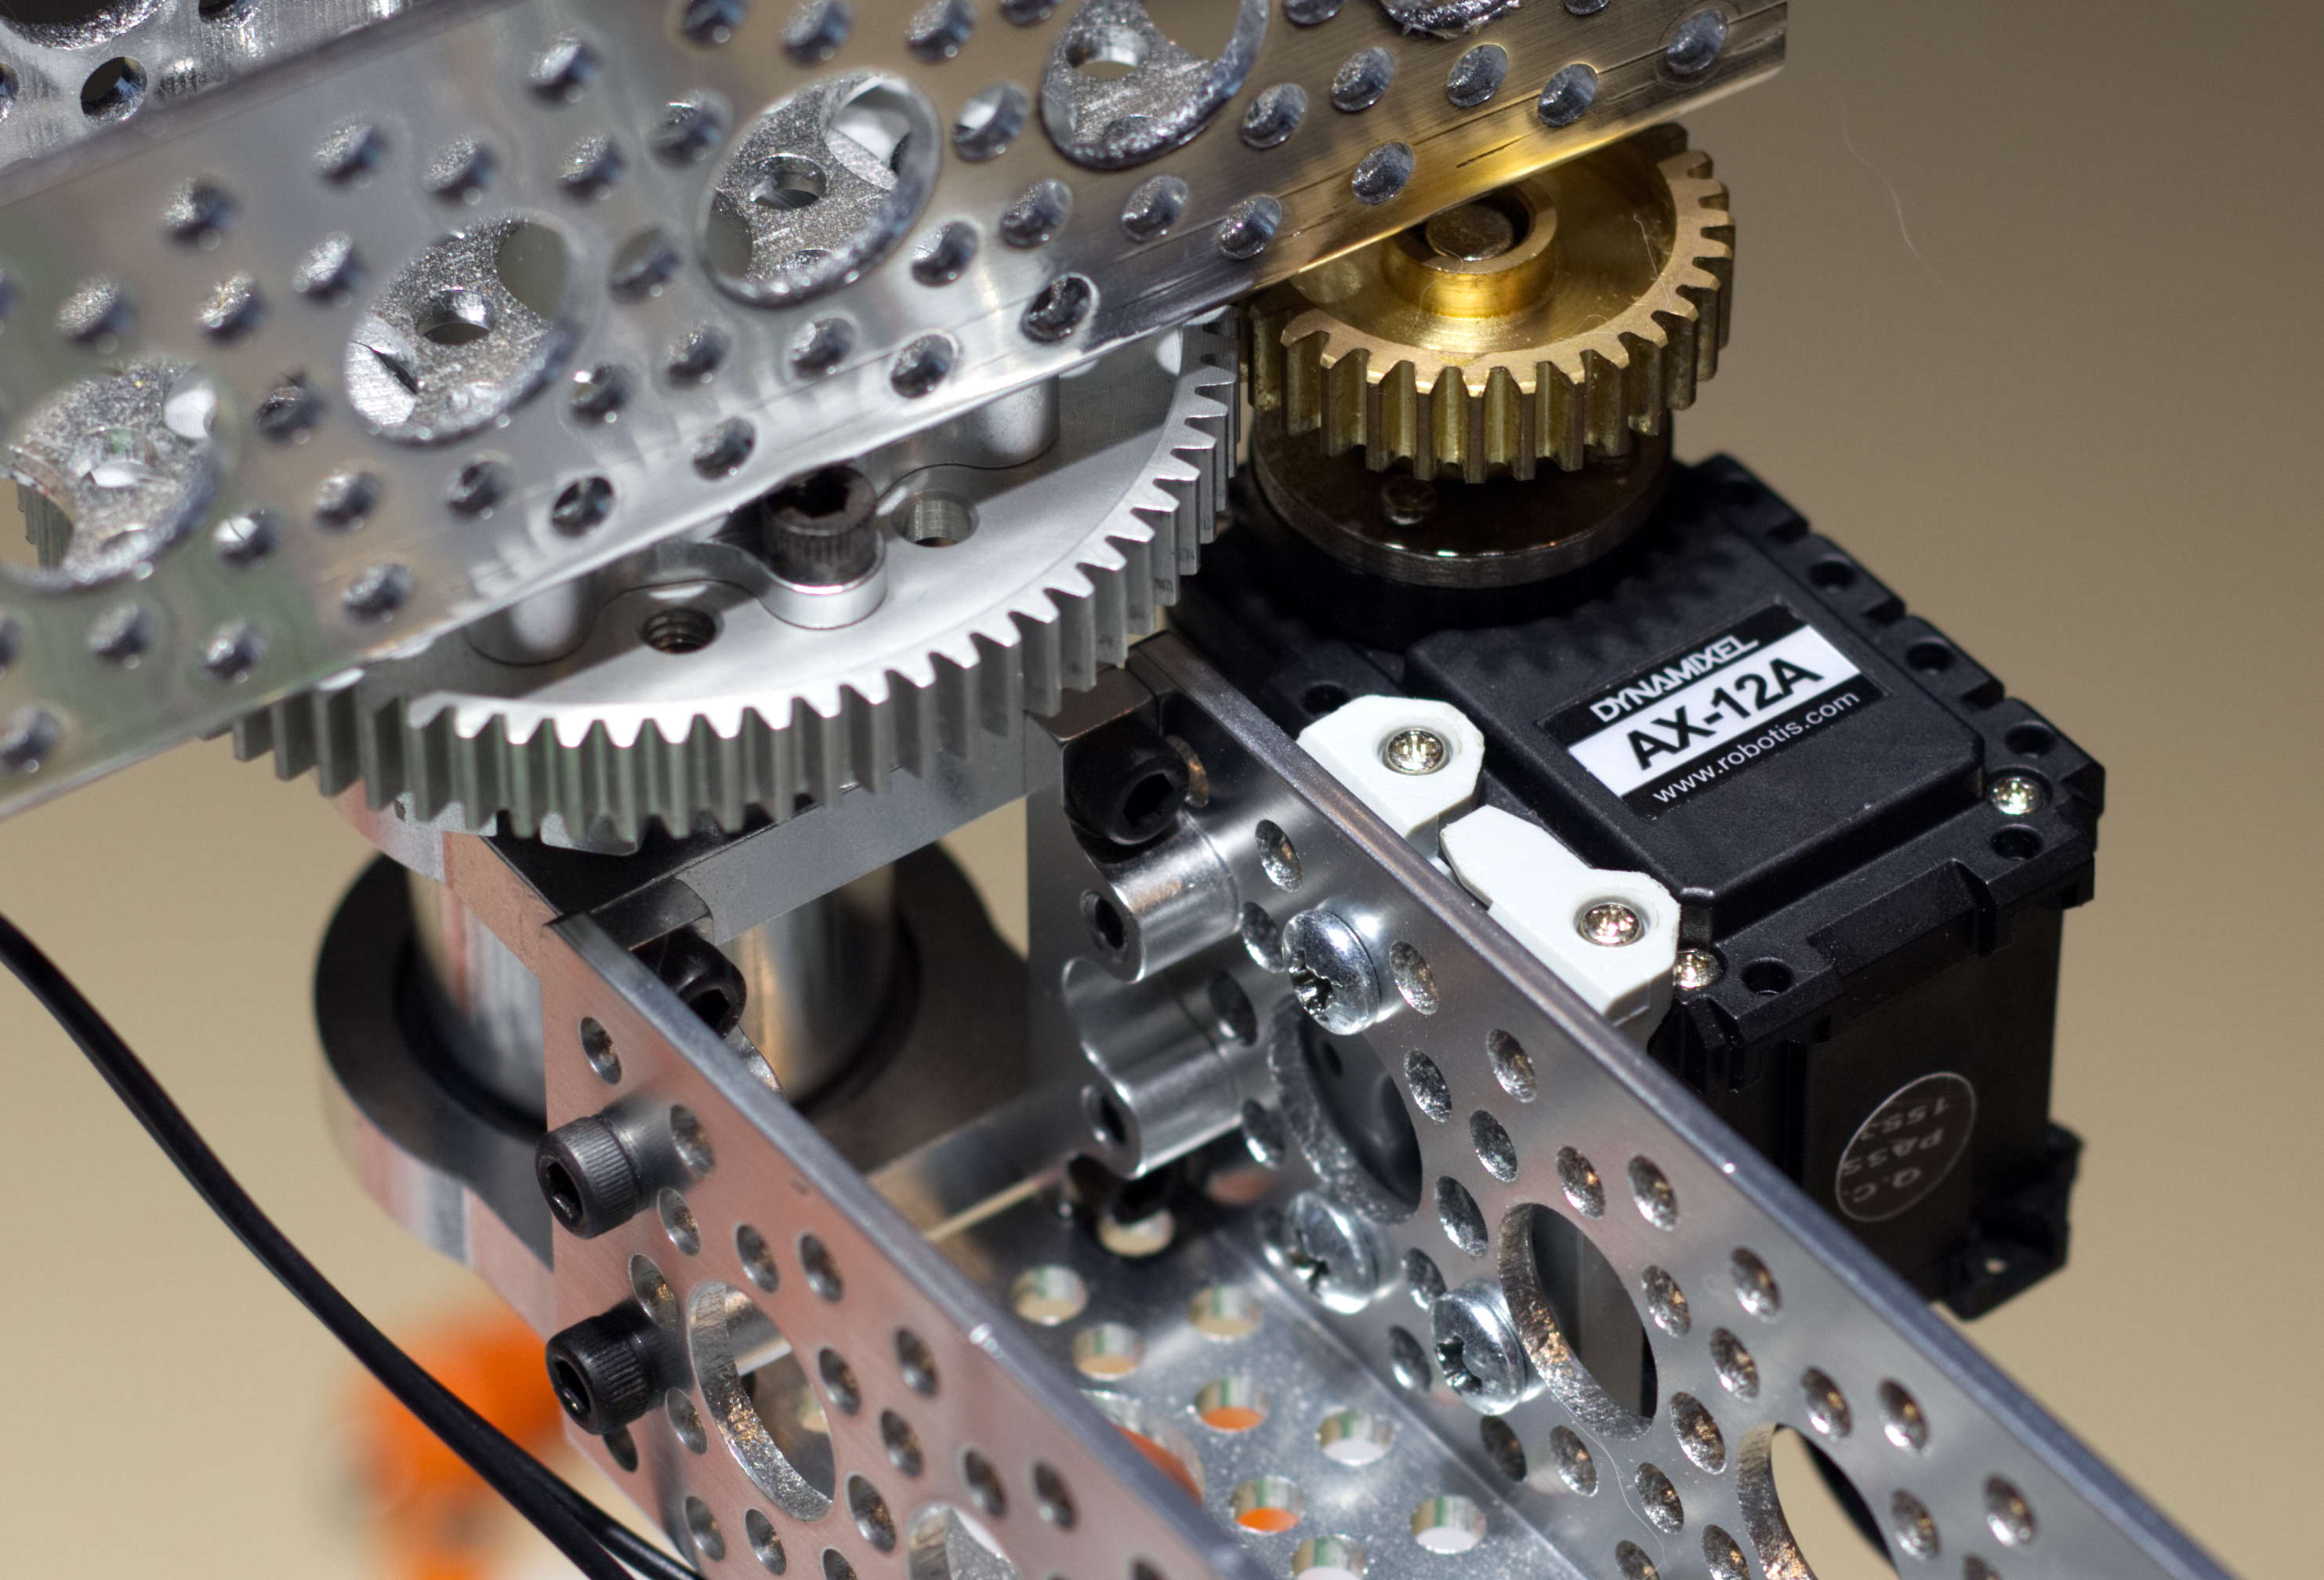
However, I couldn’t get a tight enough fit when I tried this same technique on the servo at the base of the arm. I decided to go back to the 3D printing to solve this problem. Thankfully, ServoCity provides STEP files for ALL of the Actobotic components they sell. This is just one more reason using Actobotics is such a joy, any component or adapter you need a custom part for, the STEP files are all there for you to work with. Trossen Robotics also provides excellent STEP files for the Dynamixel AX-12A. This allowed me to put the pieces together and build a custom side plate that secured the servo tightly to the aluminum channel. I printed this on Shapeways in the strong & flexible plastic material.
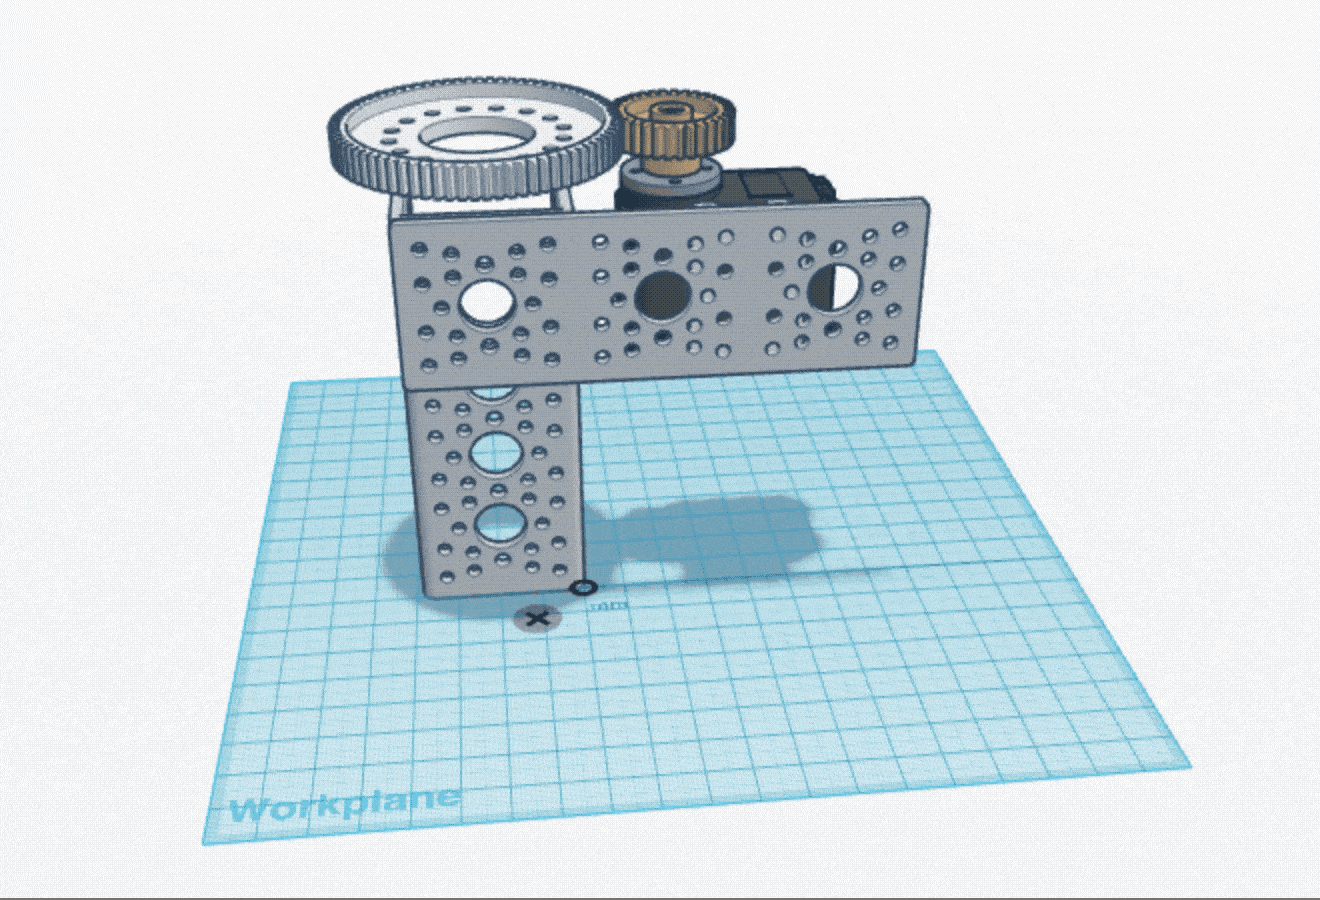
The side plate design is publicly available here.