Raspberry Turk
The Raspberry Turk is a robot that can play chess—it's entirely open source, based on Raspberry Pi, and inspired by the 18th century chess playing machine, the Mechanical Turk.
The arm of the Raspberry Turk is powered by two Dynamixel servos. The servos are controlled by Python running on a Raspberry Pi. This page is a brief guide on how to the servos are setup.
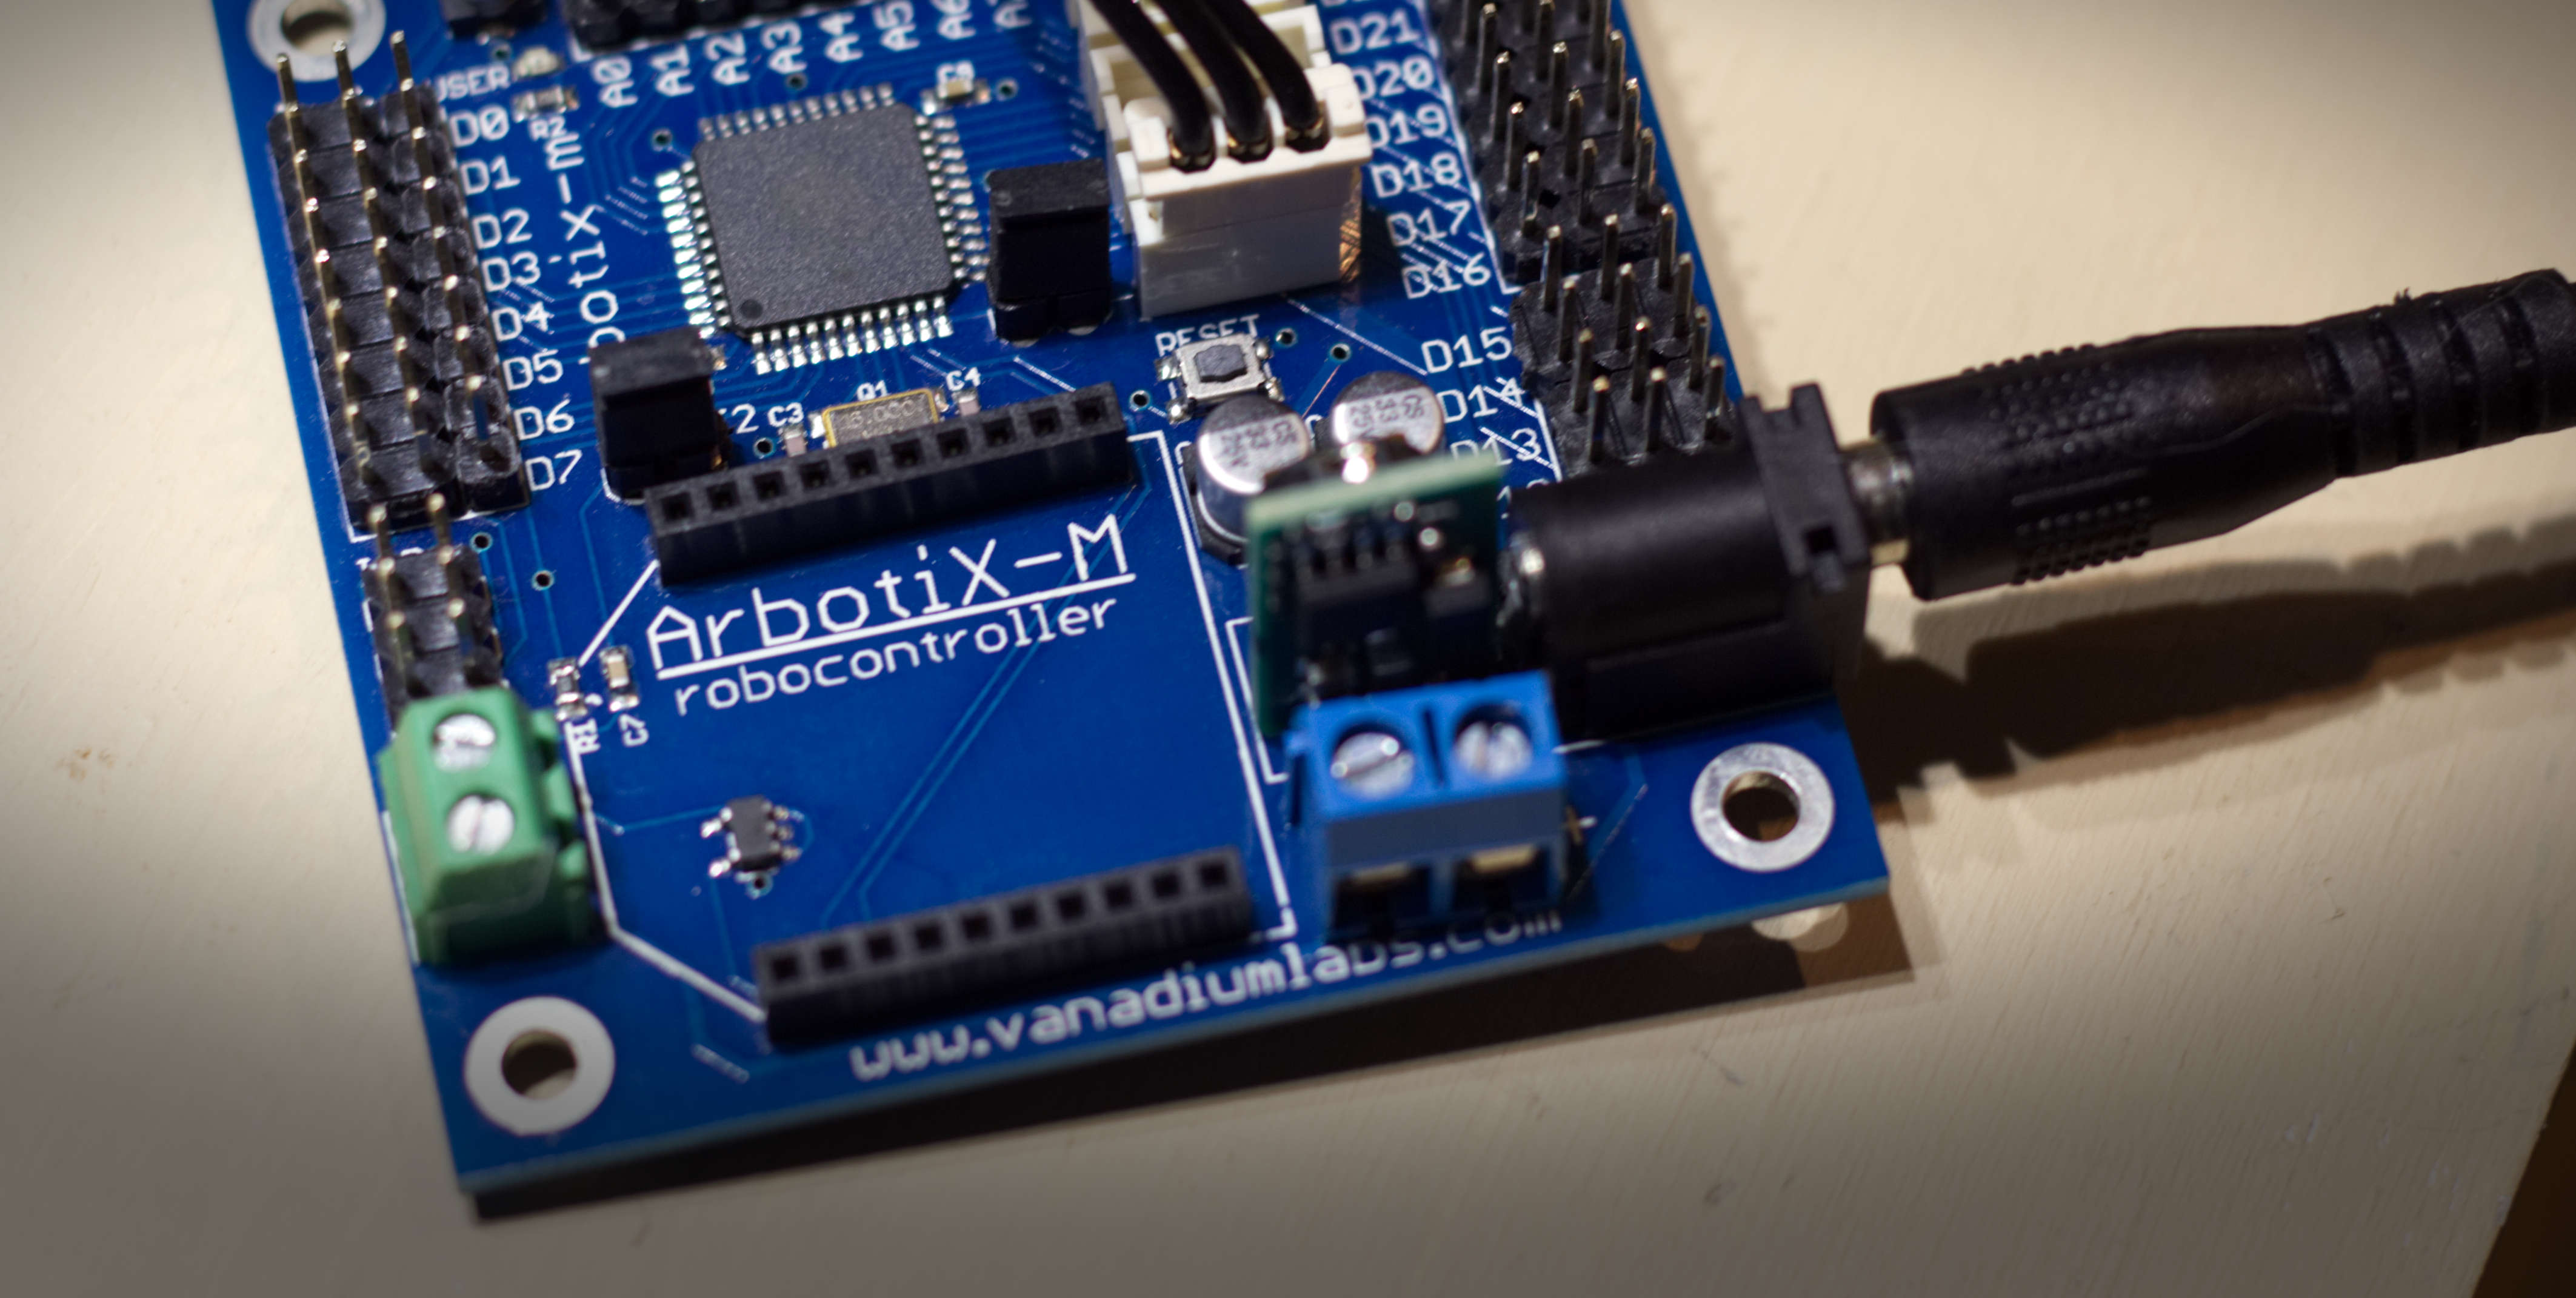
The first step is to setup the Arbotix-M Robocontroller. The Arduino compatible microcontroller should be flashed with the pypose sketch. Instructions to install the sketch can be found here.
The “pypose” sketch provides a pass through from the ArbotiX to the Bioloid bus, by speaking the correct protocol with PyPose.
The PyPose project is capable of a whole lot more than just passing messages through the Arobotix-M, it provides an entire framework for capturing poses and saving them, plus a whole lot more. However, because of the dynamic and simple nature of the SCARA arm on the Raspberry Turk, this was not needed. Once the pypose sketch is installed on the microcontroller it will act as a pass through so the Raspberry Pi can communicate directly with the servo(s).

According to the documentation for the Arbotix-M:
The ArbotiX-M will work with input voltages from 7-30V, but is most commonly used at 11-12V, as most DYNAMIXELs work safely at this voltage.
I used this power supply.
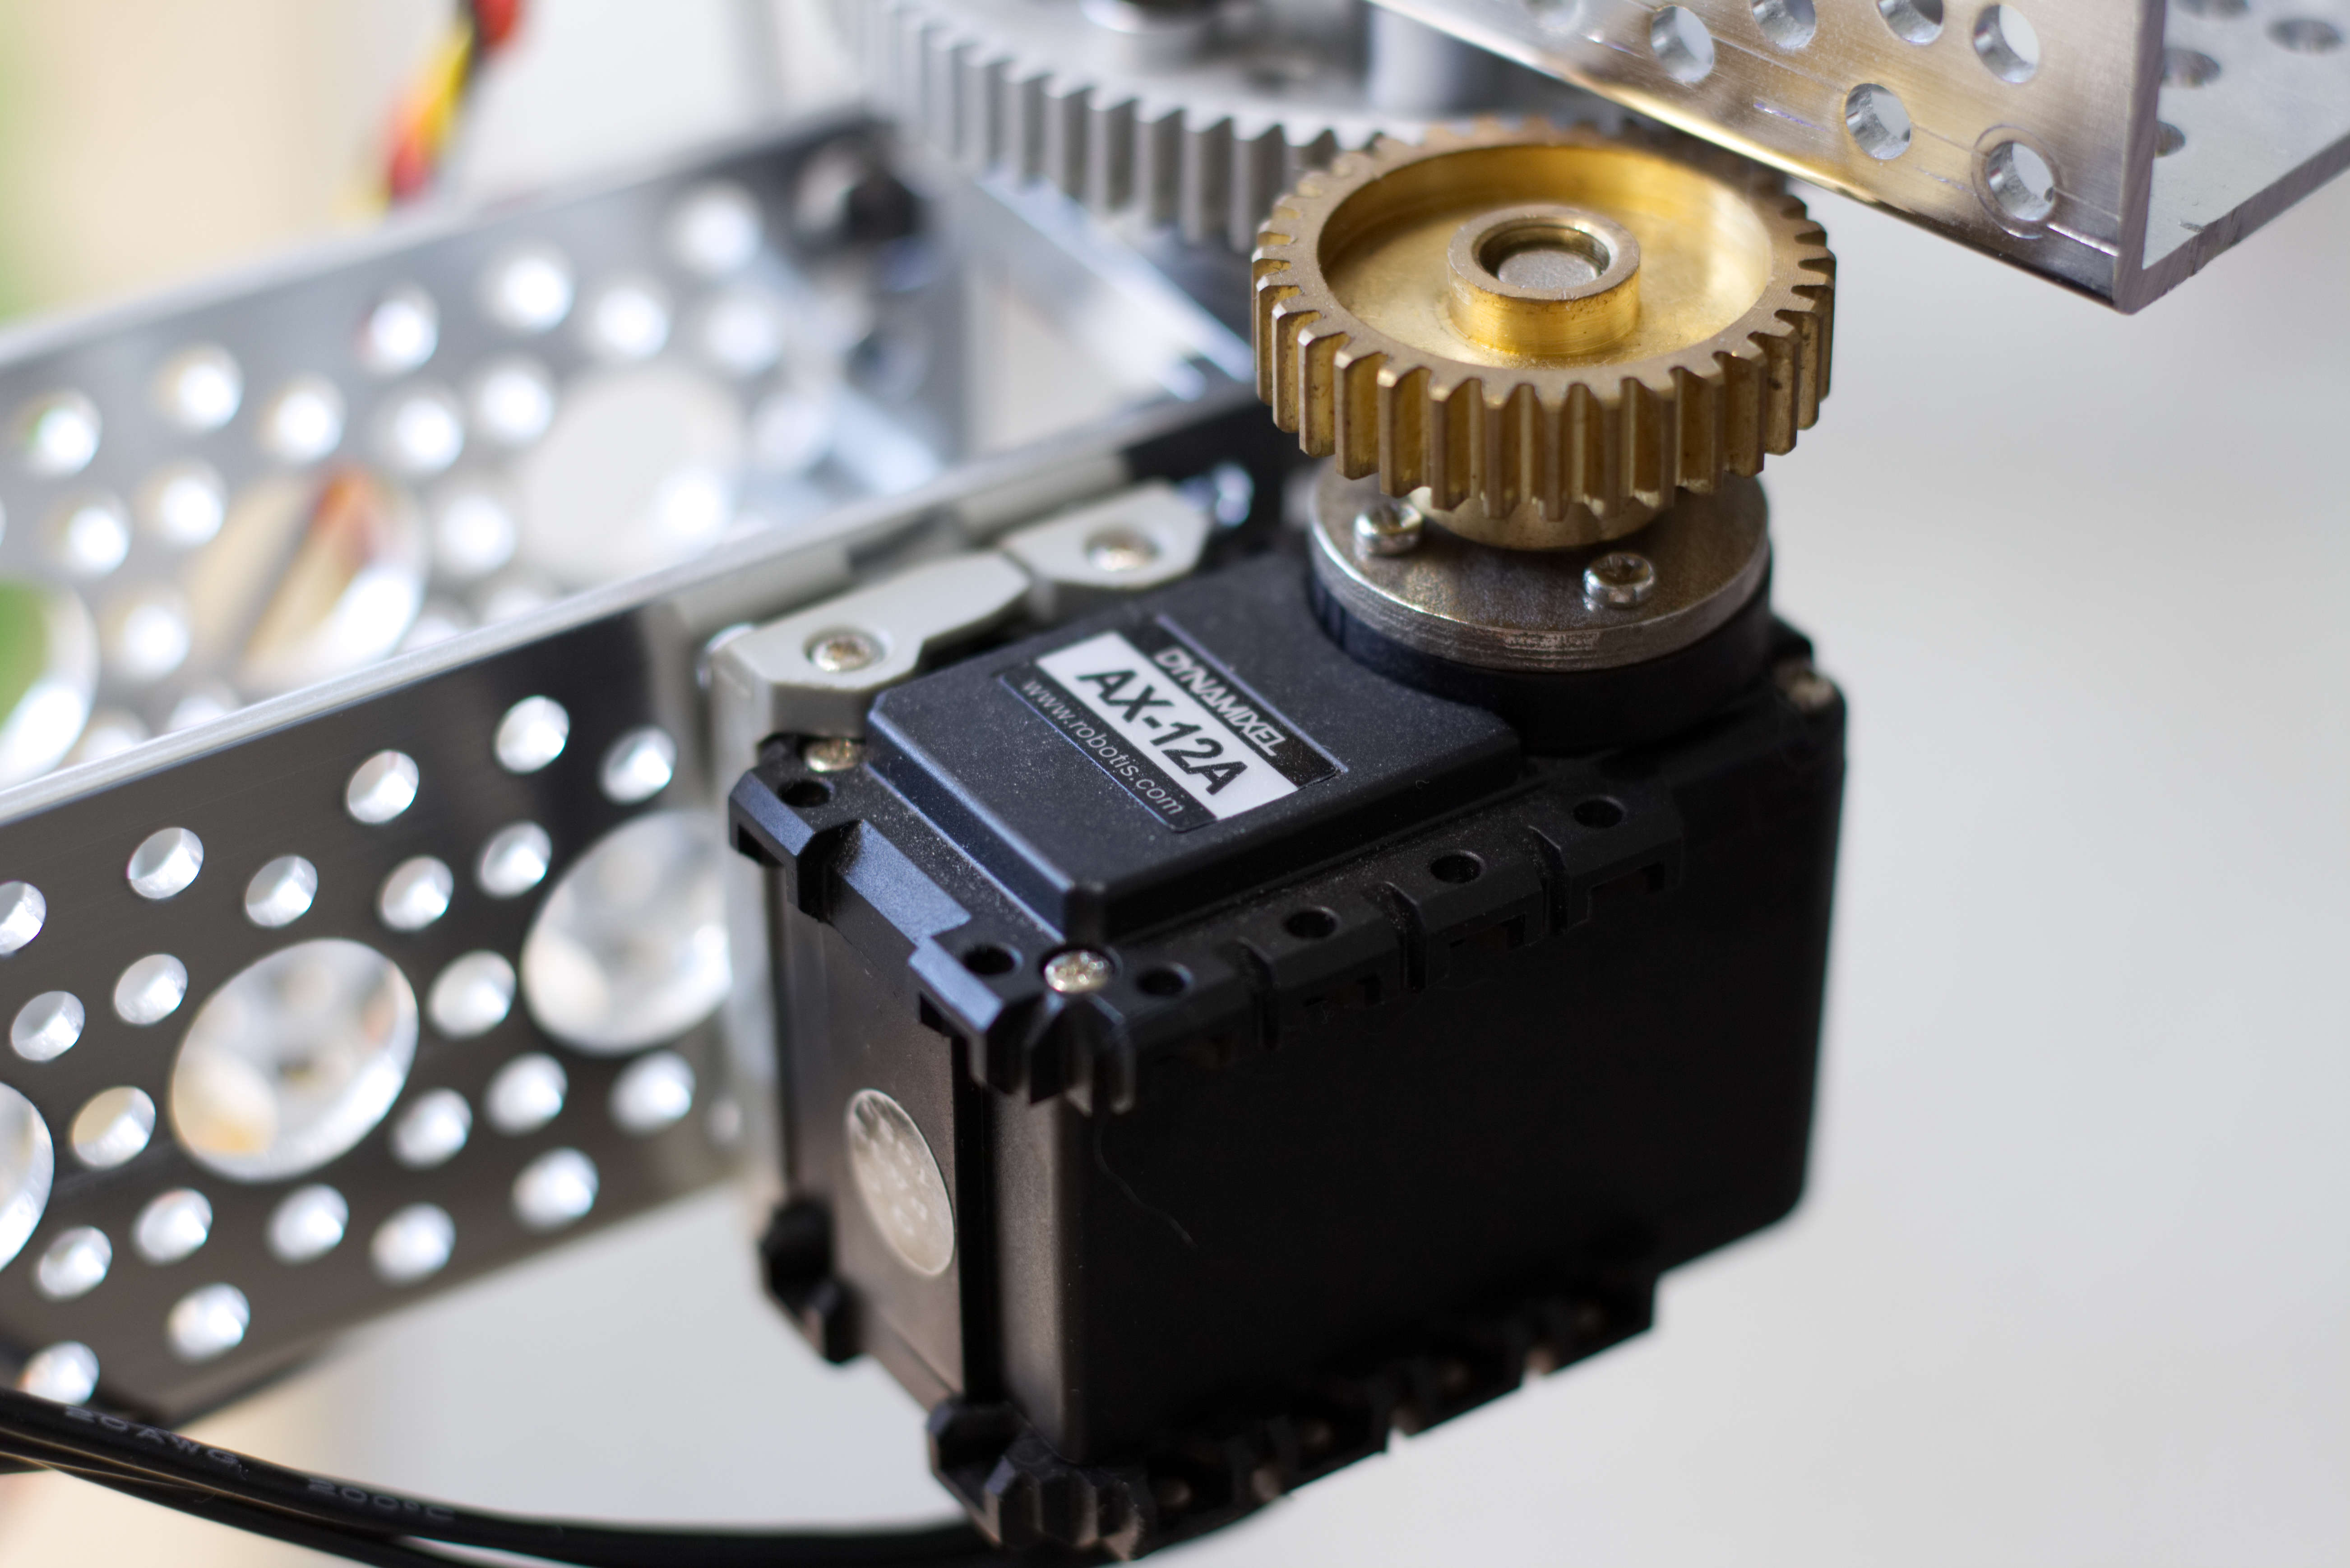
The AX-12A servo actuator from Robotis is the most advanced actuator on the market in this price range and has become the defacto standard for the next generation of hobby robotics. The AX-12A robot servo has the ability to track its speed, temperature, shaft position, voltage, and load.
The ability to get and set the speed and position among other things is one of the reasons I choose the AX-12A for this project. After using it, it quickly became one of my favorites to work with.
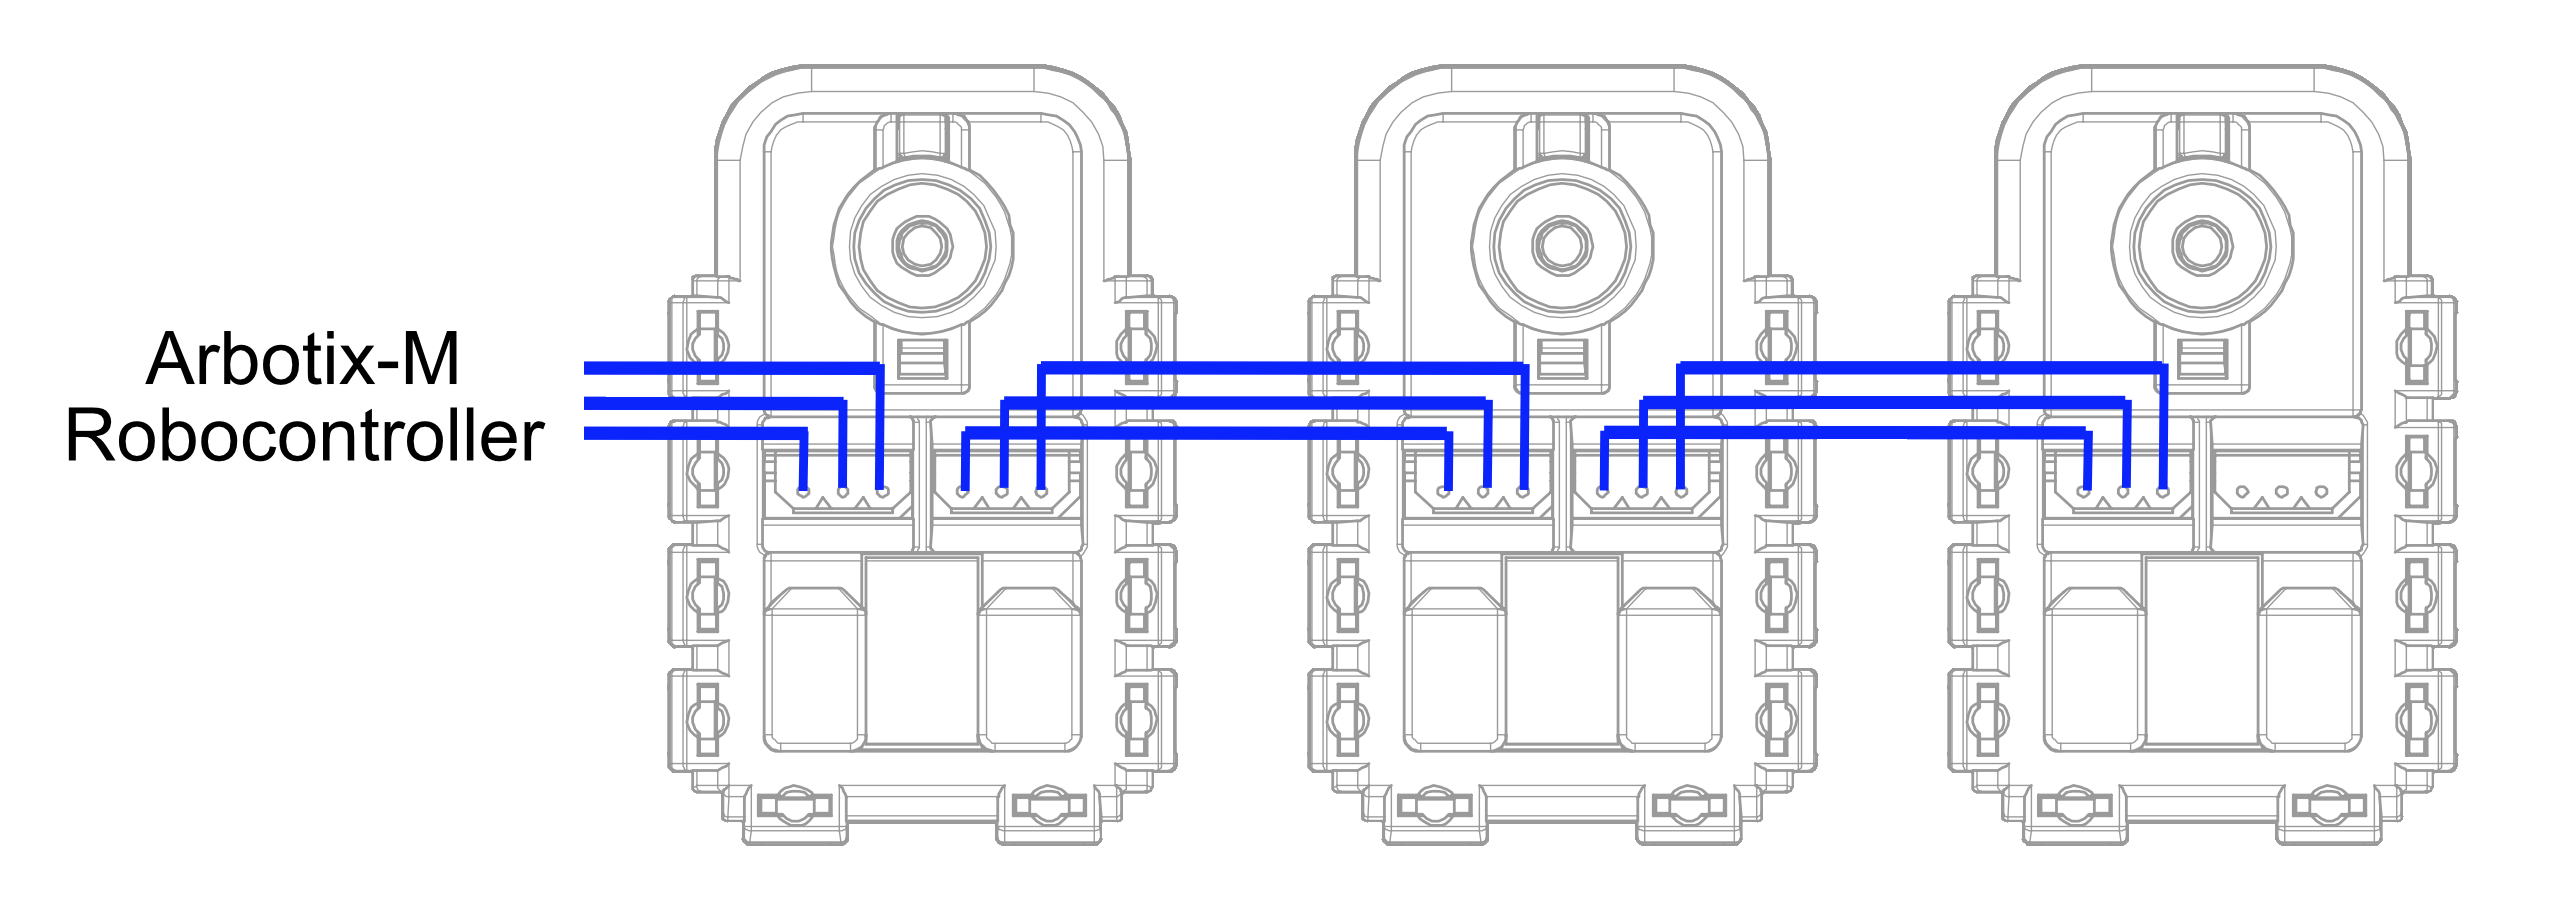
The servo connects to the Arbotix-M microcontroller via a 3 pin cable. There are several ports for multiple servos on the microcontroller, but you can also daisy chain them because each servo has two 3 pin connectors on the back. Each Dynamixel added to the chain will require it’s own ID which can be set before adding it to the chain. Instructions on how to set the ID using the DynaManager software can be found here. Alternatively, it is possible to set the ID directly with setting the ID register using Python as described below.
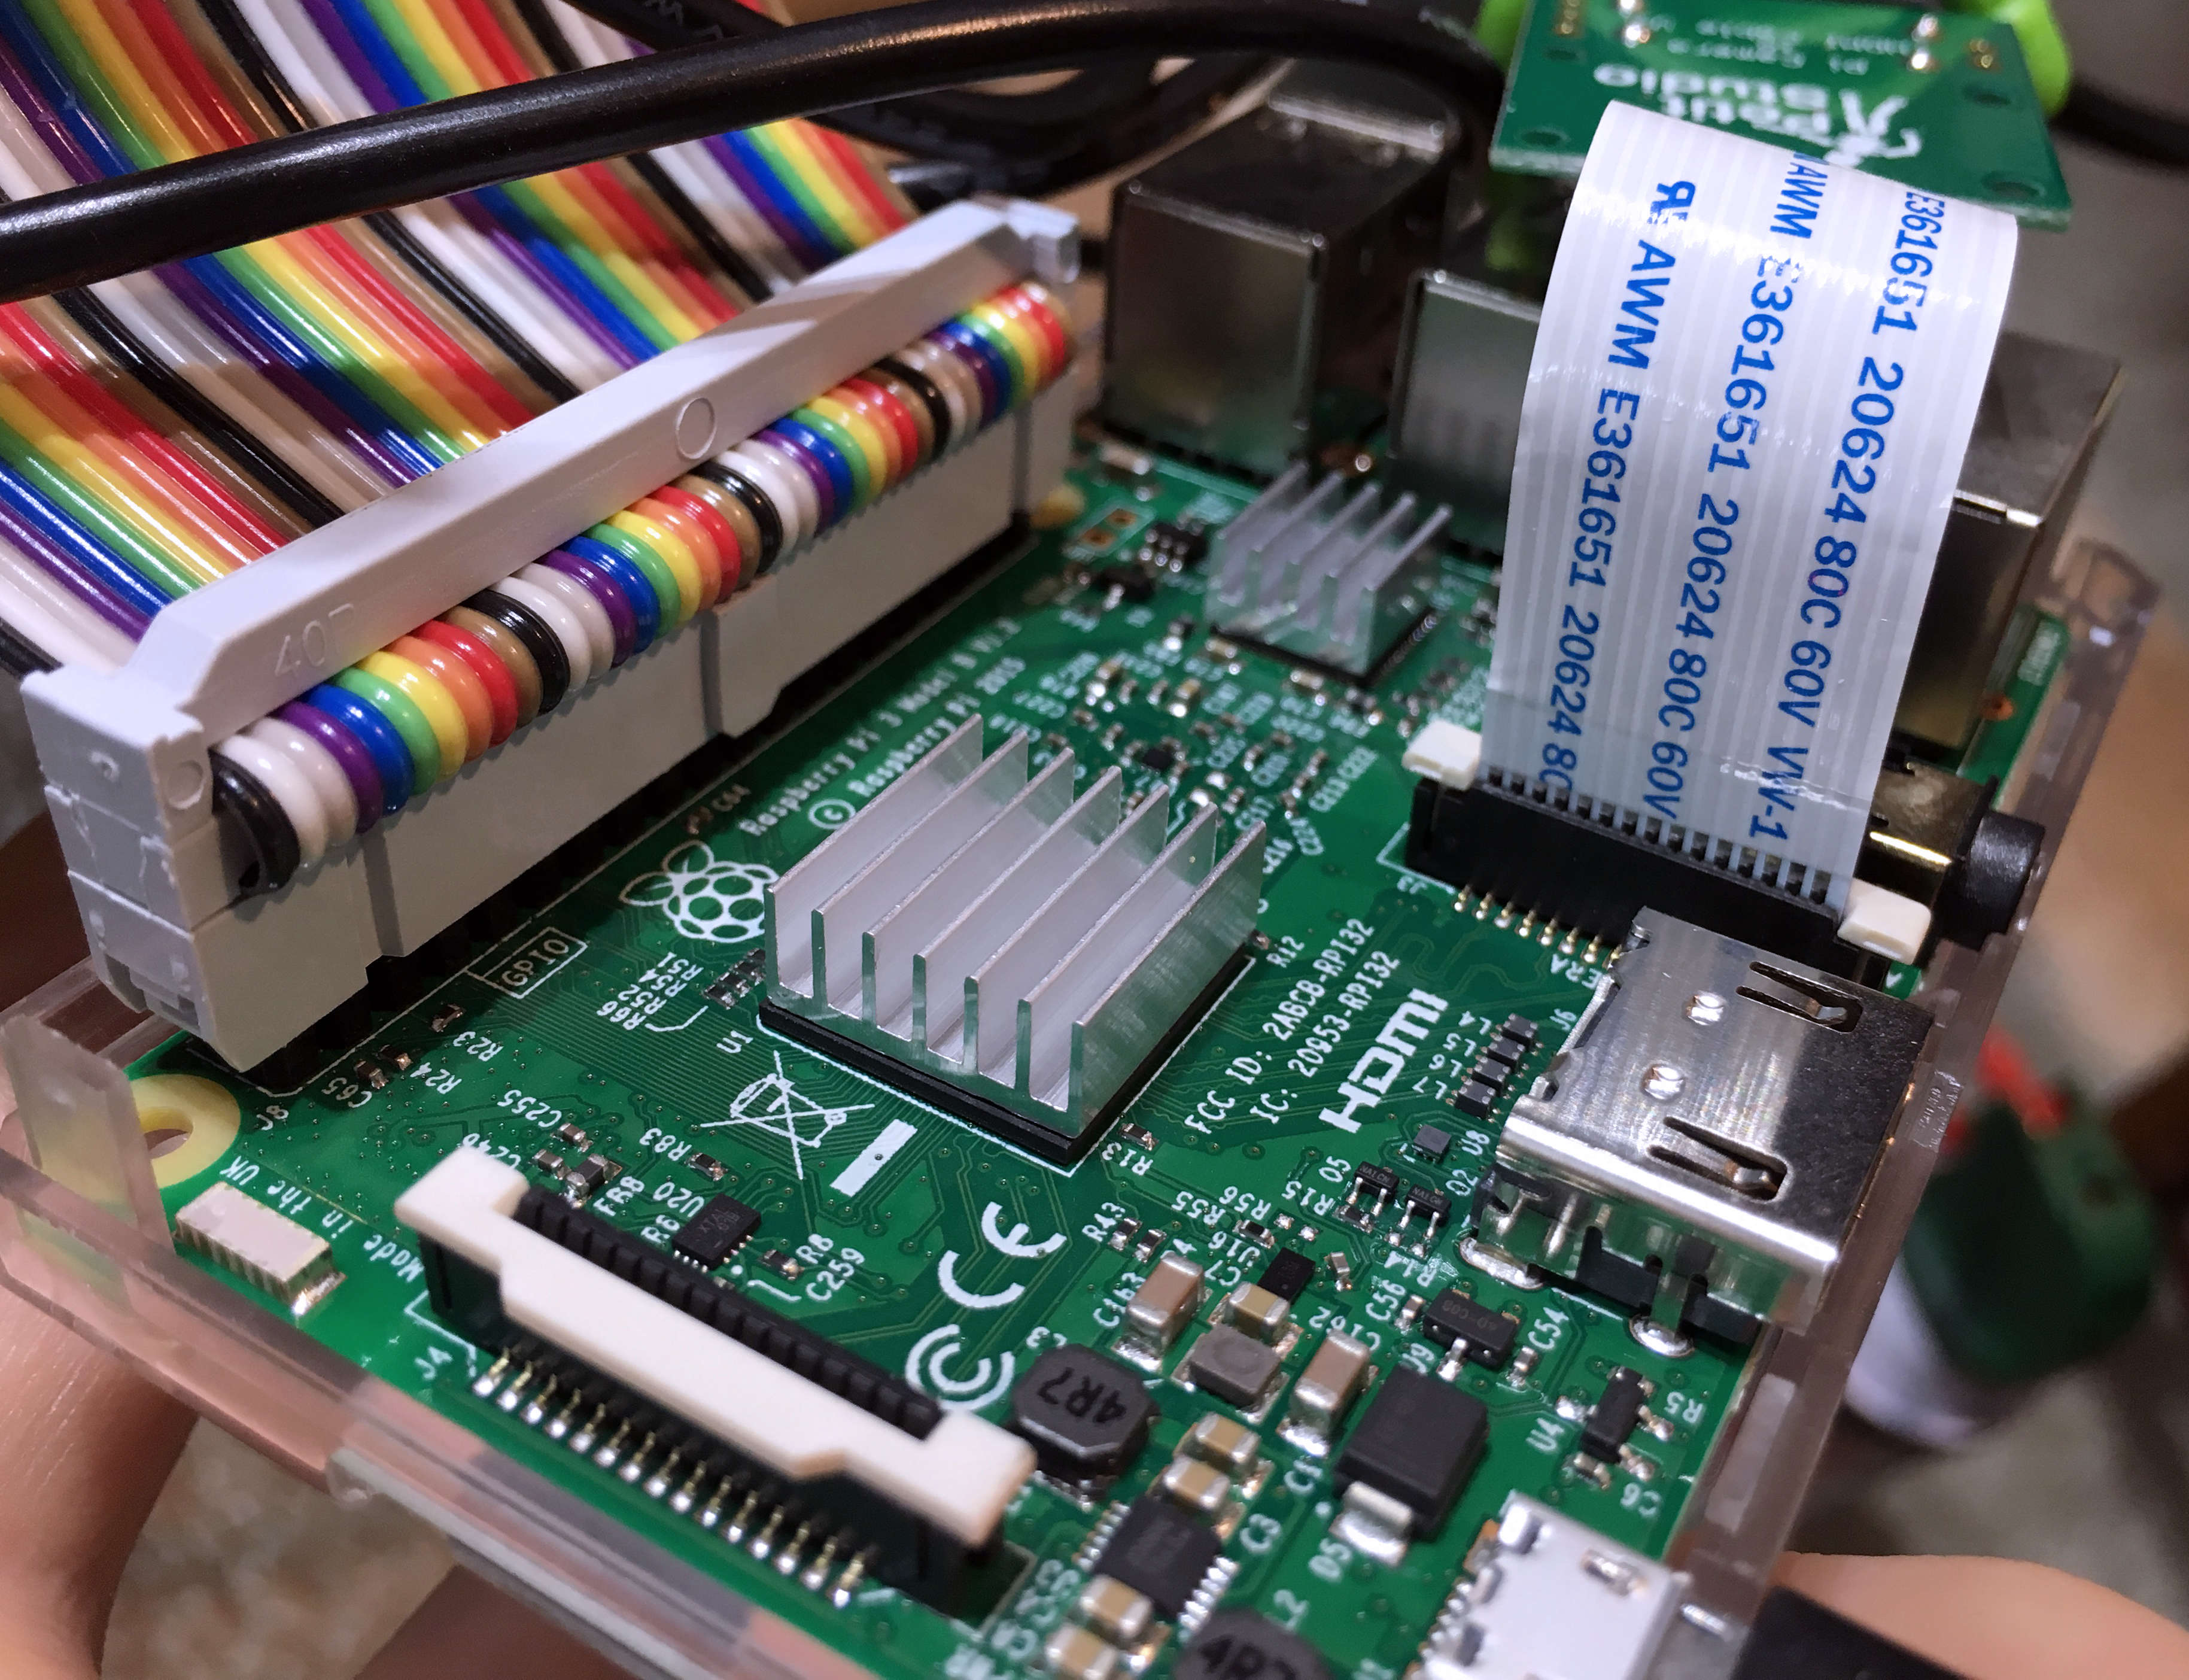
Connect the Raspberry Pi to the Arbotix-M via the FTDI USB to serial cable. Find out the serial port of the Arbotix-M using lsdev or ls /dev/{tty,cu}.*. On the Raspberry Turk, the port is /dev/ttyUSB0.
The PyPose project provides a driver which effectively allows you to get and set registers on any connected Dynamixel device. This file was minorly adapted and added to the Raspberry Turk codebase, it can be found here. Keep in mind this driver has pySerial as a dependency.
From this point, you can pass in the port and create a Driver object to control the servos.
from pypose.driver import Driver

driver = Driver(port='/dev/ttyUSB0')

# Import AX-12 register constants
from pypose.ax12 import P_MOVING, P_GOAL_SPEED_L

# Get "moving" register for servo with ID 1
is_moving = driver.getReg(1, P_MOVING, 1)

# Set the "moving speed" register for servo with ID 1
speed = 888 # A number between 0 and 1023
self.driver.setReg(1, P_GOAL_SPEED_L, [speed%256, speed>>8])
A complete list of registers and documentation on how/when to use them can be found here. The associated file with all of the register contants is also from the PyPose project, and can be found here.